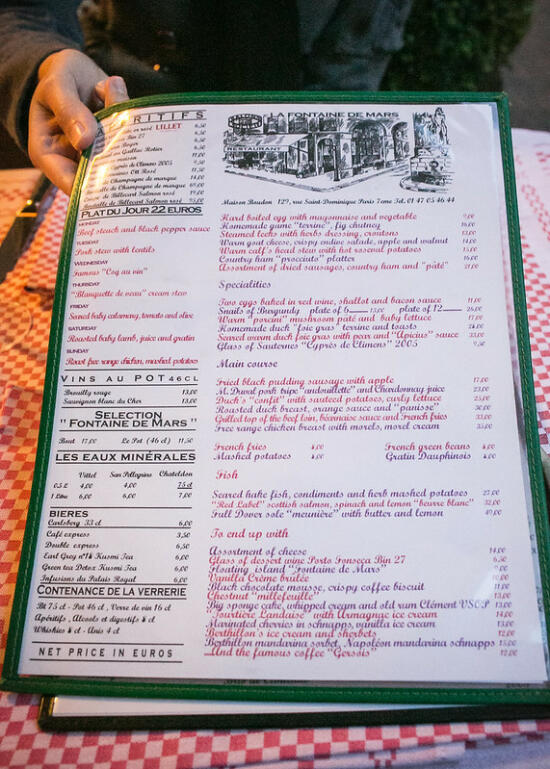
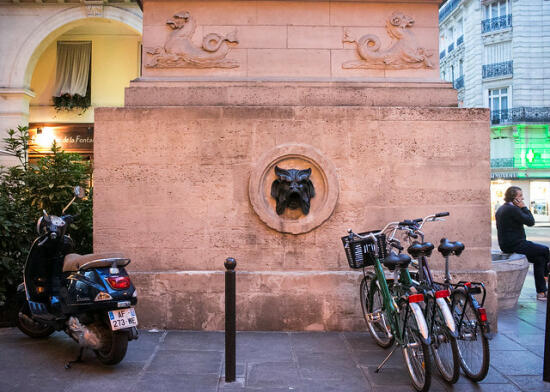
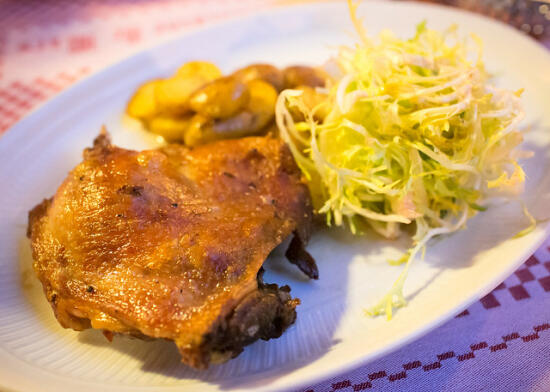
After a day filled with macarons, chocolate, tasty French food, and plenty of wanderings, we found dinner closer to home base.
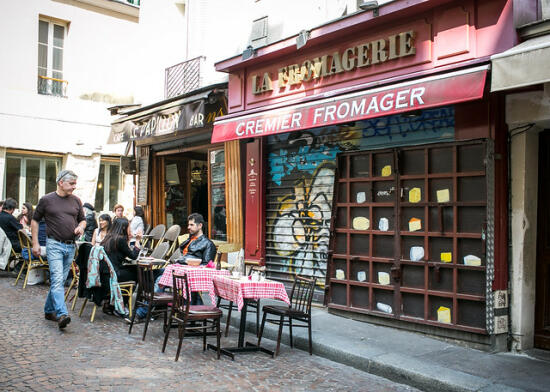
We had walked by La Fontaine de Mars a few times already, as it’s on one of the little streets between our hotel and the Eiffel Tower.
When Son looked it up and found it had good reviews, it was an easy decision.
We were seated outside, which afforded us a nice view and a quiet meal. However, our table was practically in the street, which meant there were a few times we nearly thought we were going to get run over by a speedy passing motorbike or a car trying to squeeze down the narrow alleyway.
After perusing the English menu they keep on hand for tourists, Son decided on the confit canard (duck confit) – no surprise there.
Seriously, Son has had duck for every sit-down meal so far in Paris!
As for me, I got the Poulet aux Morilles (roasted chicken breast with morels and morel cream sauce). The chicken by itself was nothing special, but those morels! And that sauce! *swoon*
After dinner, we wandered just a bit more to walk off the meal, and go see the Eiffel Tower all lit up.
Paris is beautiful at night.
My wanderings around my world this week started with…
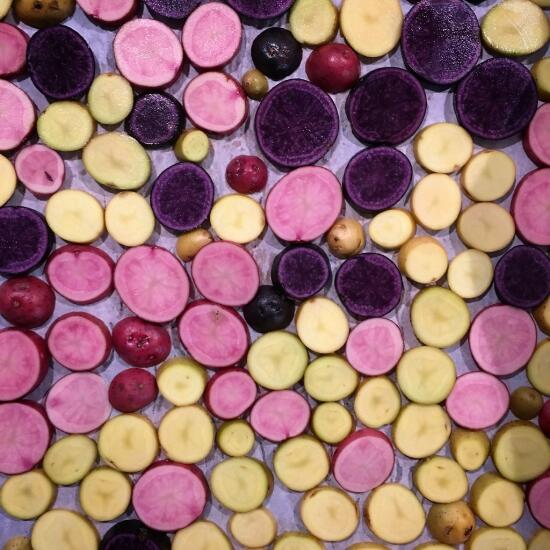
Roasting potatoes.
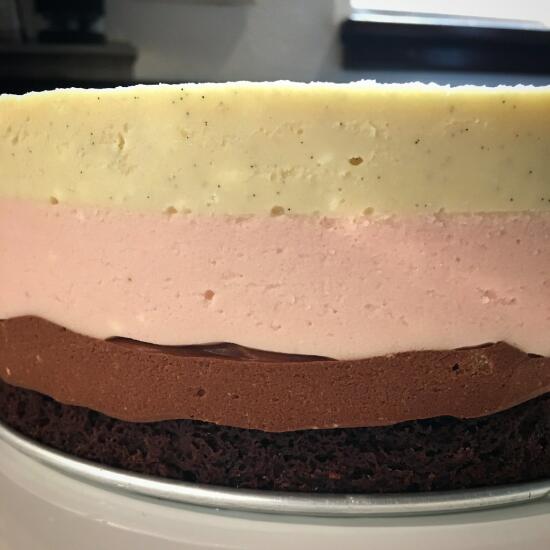
Layers.
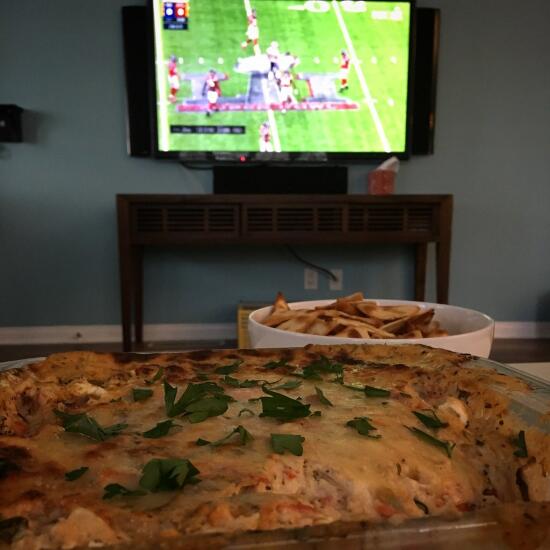
Dips, chips, and the Super Bowl!
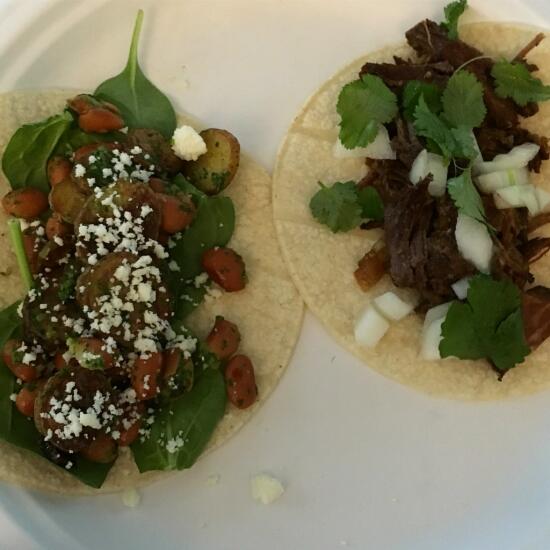
You know it’s all about the food here. Potato pinto bean tacos, and short rib tacos. Both were excellent, but the potato ones were my favorite.
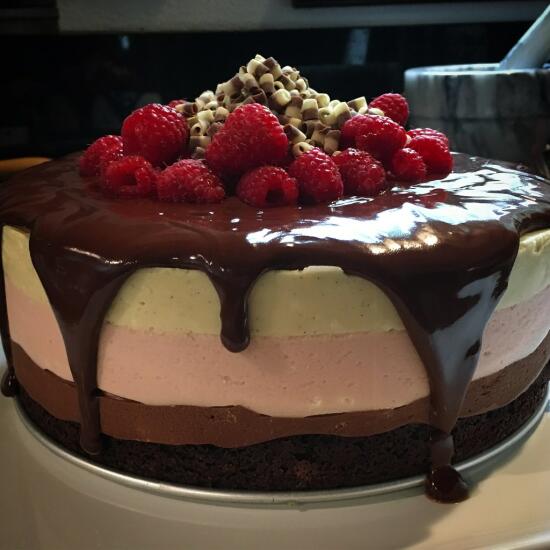
That feel when you make something that looks really challenging and it turns out AMAZINGLY.
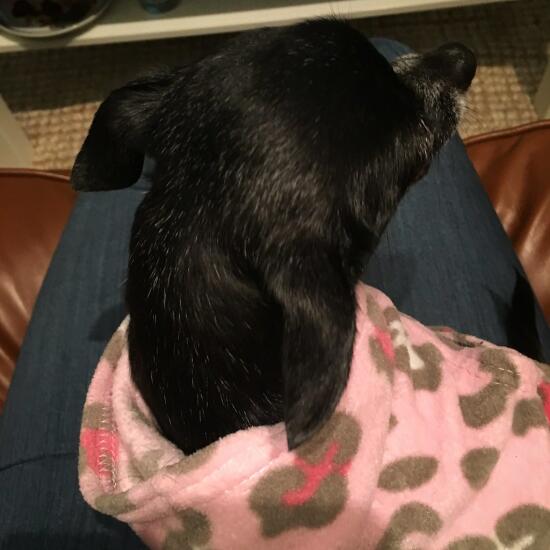
Best part of our Super Bowl party was this pup that snuggled in my lap the entire time. Do you think anyone would notice if I hide her away until everybody leaves? ๐ค๐
(Breakfast) taco Tuesday!
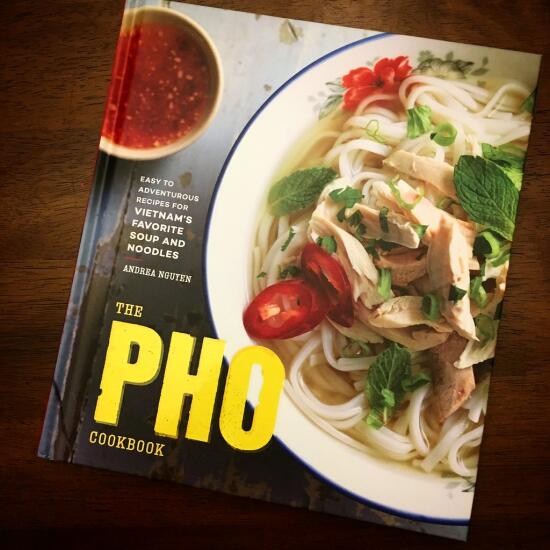
Time to make ALL THE PHO.
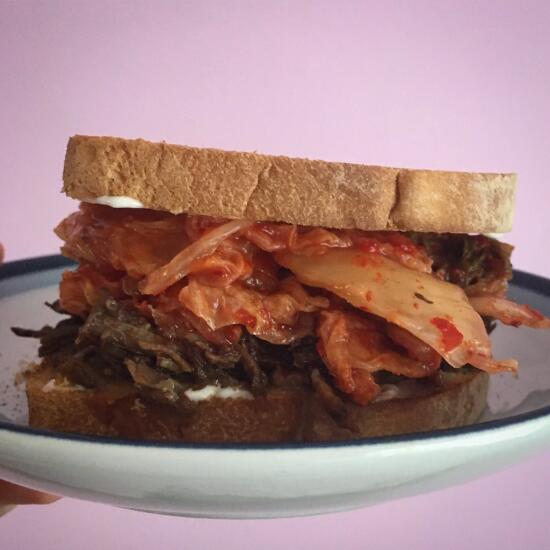
Kimchi sandwich… with shortribs. ๐
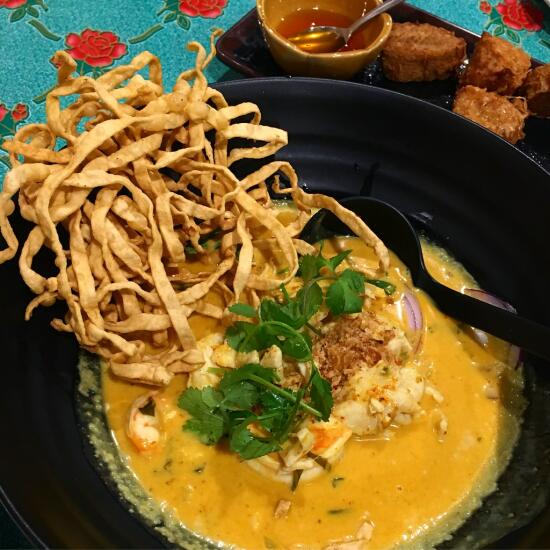
Found a new-to-us restaurant when the other restaurant we wanted to go to was waaaaay too packed. Now obsessed with this khao soi. It’s so good I was literally slurping the last bits of curry soup out of the bowl after I had eaten everything else…
~~~~~~~~~~
Where are you wandering this week?
~~~~~~~~~~
After a lovely lunch at Tourn’Bride, we set off to wander more.
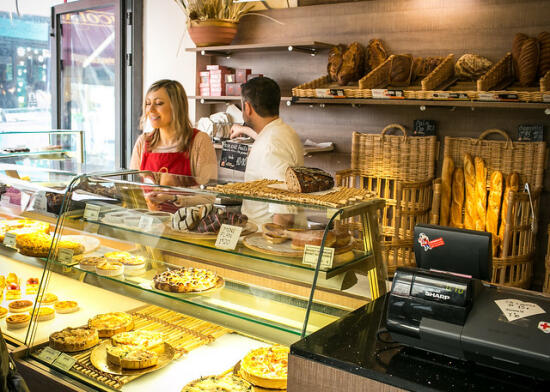
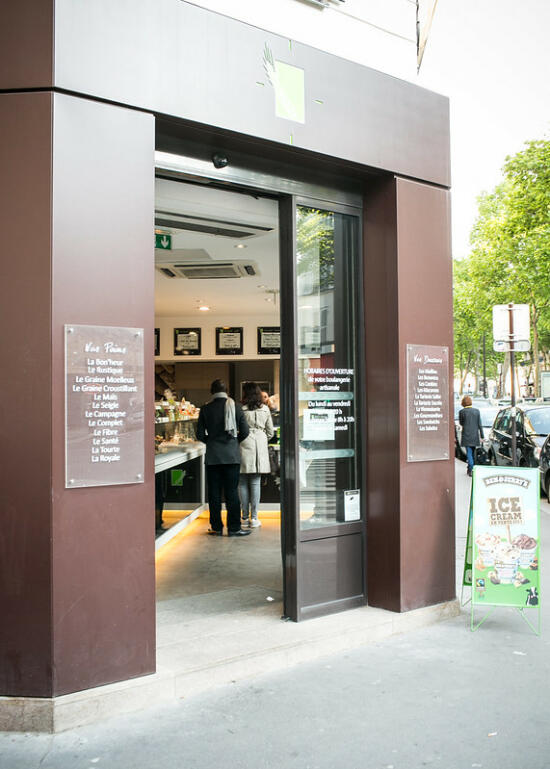
Not even a minute after we set off, Son suddenly dragged me into a random patisserie on Rue Mouffetard – “We’re getting something here.”
Well! I’m certainly not going to complain when Son insists upon dessert.
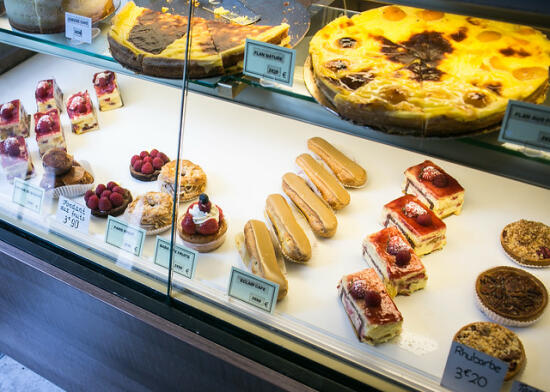
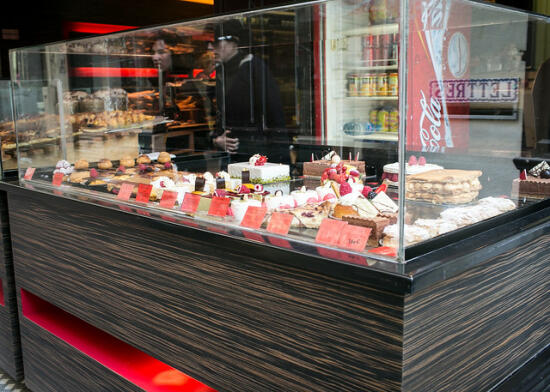
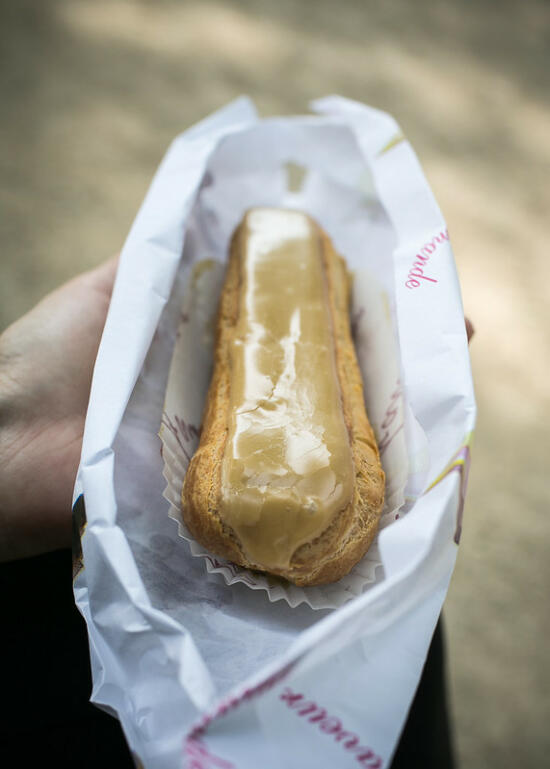
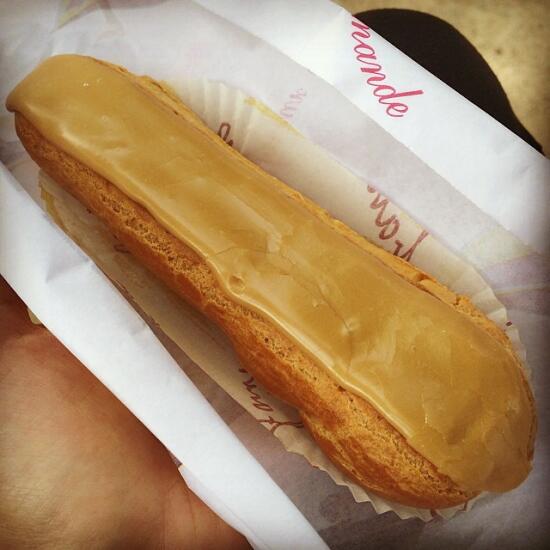
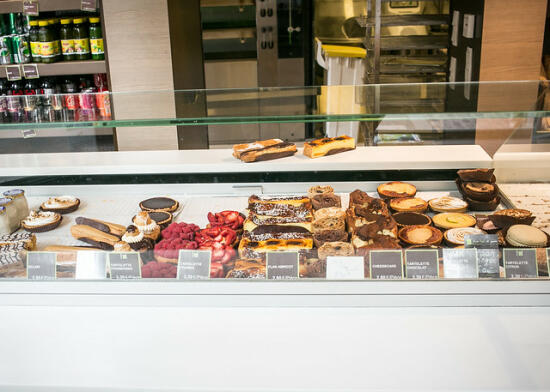
After a quick browse through all the tasty-looking sweets at Les Chants de Blé (at the corner of Rue Mouffetard and Rue de L’Arbalète), we made our decision and then headed off to find somewhere to eat.
Jardin de Plantes fit the bill perfectly!
Gorgeous landscaping, and plenty of shaded benches were the perfect place to sit, try out some of the treats we bought, and people-watch for a while.
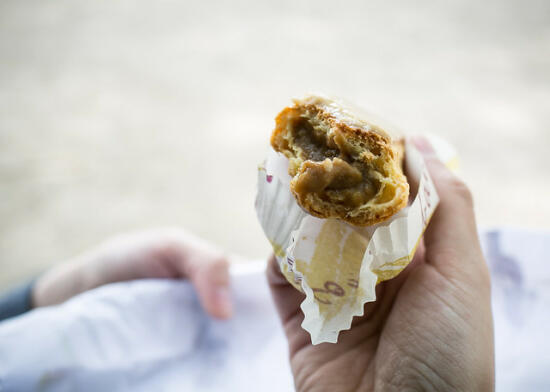
First, we sampled the eclair au cafรฉ that we bought at the patisserie.
Unsurprisingly, it was fantastic.
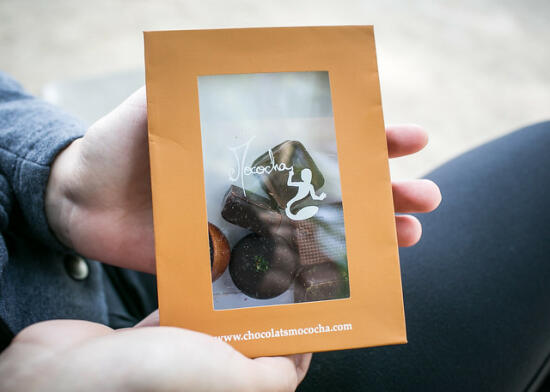
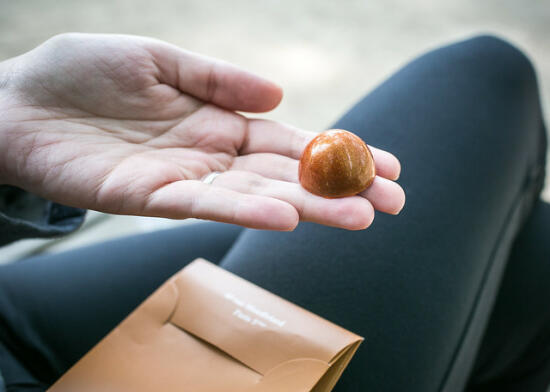
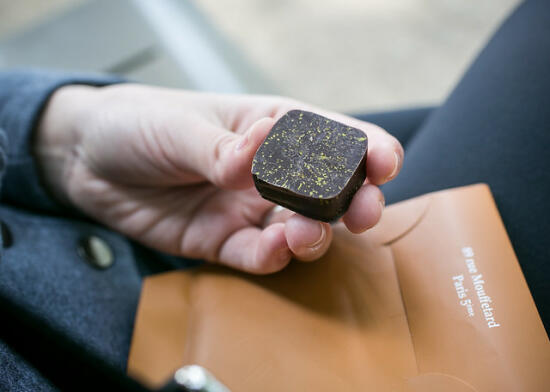
Then we got into the chocolates we bought before lunch from Chocolat Mococha.
The passionfruit chocolate was incredibly tart, but quite tasty.
And of course we had to try the wasabi chocolate with sesame praline. We couldn’t taste the wasabi much, but the sesame was fantastic.
The Jardin de Plantes is lovely to walk through. It’s beautifully landscaped, and contains hundreds of different varieties of plants.
There’s also a huge greenhouse, which from the outside looks like it might contain an entire rainforest.
It looked like they required tickets to enter, so we passed on that this time.
Instead, we meandered around the rest of the Jardin de Plantes, and found… kangaroos!
Apparently there’s a small zoo attached to the gardens.
After wandering through the zoo, we made our way back to the river, where we took the Batobus back to the Eiffel Tower stop.
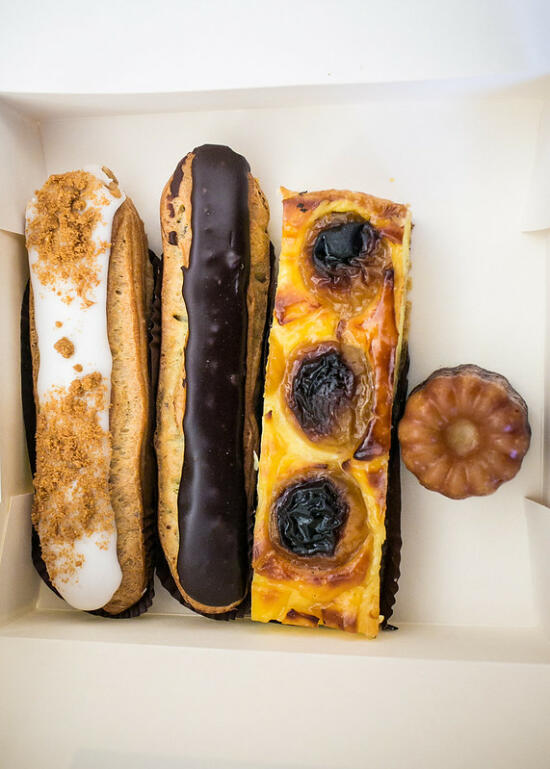
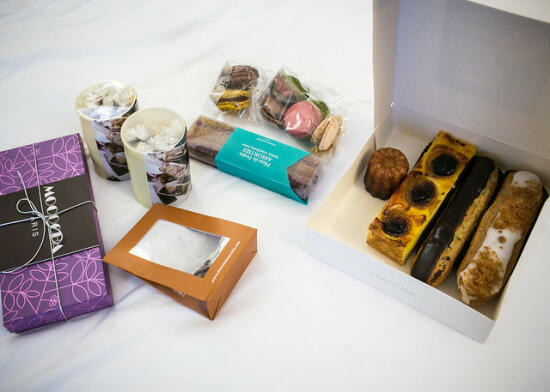
Before heading back up to our hotel room, we stopped at the bakery downstairs, and bought some more goodies.
Back up in our room, we sampled the pastries – the chocolate and vanilla eclairs were tasty, that canelle was a little weird, and the flan apricot was delicious.
(Vacation is a totally valid excuse to eat sweets before dinner.)
After emptying my bag of all the random souvenirs we picked up throughout the day (and, let’s be honest, resting and catching up on Facebook for half an hour)… it was time to be off for our next meal!
~~~~~~
If you follow the Fridgg blog, you’ve probably noticed the top ten posts that I’ve started doing every week, to feature our Fridgg users and the recipes they’ve contributed.
It’s been a ton of fun cooking the recipe that comes in at the number one spot every week. I love the excuse to cook all sorts of things I may not have had a good enough reason to cook otherwise (ahem, like yesterday’s amazing raspberry chocolate mousse cake!), and it’s an awesome opportunity to highlight all the fantastic photos and recipes our users have uploaded over the last few years.
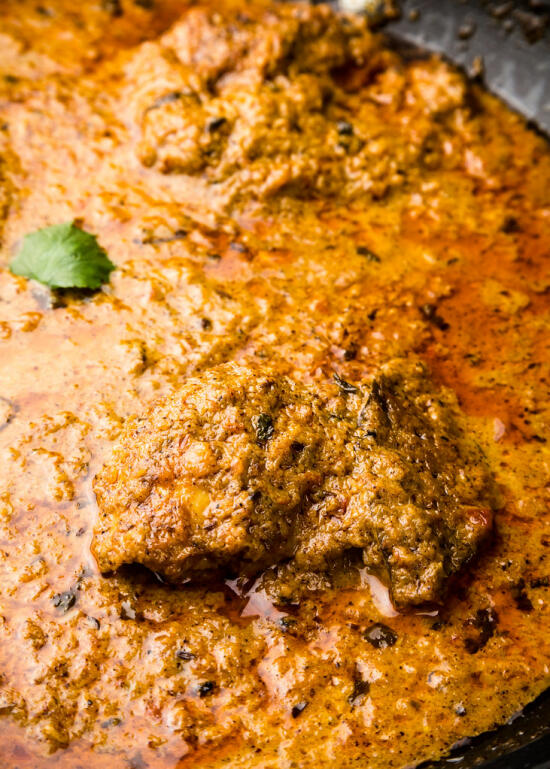
Next week’s top recipe is a fun Valentine’s Day treat, which happens to involve butter chicken. The original recipe calls for a jarred butter chicken sauce, which, in the spirit of ease as well as keeping true to the original recipe, I ordered from Amazon.
… and then I received a bubble-wrapped package of broken glass and sauce that smelled more like Spaghetti-Os than butter chicken. (Thank goodness for Amazon’s amazing refund policy!)
So in the spirit of trying out Fridgg’s top recipes, I figured, why not try making our most popular butter chicken recipe from scratch instead?
After a quick search, I found that our top butter chicken recipe is this one, from Pepper Garlic Kitchen. Looks tasty, and as authentic as can be!
Don’t let the long list of ingredients scare you. Most of them are fairly common or can be easily bought online, and the recipe itself is easy enough to make.
And it’s ever so delicious – much better than instant sauce that tastes like Spaghetti-Os, I’m sure.
Plus, Wednesday’s recipe won’t use the entire batch of butter chicken – so you get two meals in one!
Butter Chicken
Recipe from Pepper Garlic Kitchen.
Ingredients
To marinate chicken:
- 1 lb chicken
- 1/4 cup yogurt
- 1/4 tbsp ground ginger
- 1/4 tbsp garlic powder
- 1 tbsp paprika
- 1 tsp garam masala powder
Sauce:
- 1 tbsp vegetable oil
- 1/4 cup butter, divided
- 1 tsp cumin seeds
- 1 dried bay leaf
- 1 inch cinnamon stick
- 1 medium onion
- 1/2 inch ginger
- 5-6 garlic cloves
- 2 green chiles
- 1 tsp whole black peppercorns
- 1 medium tomato
- 1/2 tsp ground turmeric
- 1 tsp ground coriander
- 1 tsp red chili powder
- 1 tsp garam masala powder
- 1 1/2 tsp dried fenugreek/methi leaves
- 1/2 cup heavy cream, divided
- salt to taste
- cilantro for garnish
Cooking Directions
- In a large bowl or ziploc bag, mix the yogurt, ground ginger, garlic powder, paprika, and 1 tsp garam masala powder with the chicken.
- Marinate the chicken in the refrigerator for at least 30 minutes.
- In the meantime, heat the vegetable oil in a heavy bottom pan over medium-low heat. When oil is hot, melt half of the butter into it.
- Add cumin seeds, bay leaf, and cinnamon stick to the oil.
- Coarsly cut up the onion, then puree in a food processor until it forms a paste.
- When seeds start to splutter, add the onion paste and cook until golden.
- Puree the ginger, garlic, green chiles, and peppercorns in the food processor.
- Add the ginger paste to the pan. Let it cook for a couple of minutes.
- Puree the tomato in the food processor.
- When mixture in the pan starts bubbling, add the pureed tomato.
- In a bowl, mix the ground turmeric, ground coriander, red chili powder, and remaining garam masala powder. Add just enough water to make a paste. Transfer it to the pan, and cook while stirring occasionally.
- When the mixture starts to release oil, add the marinated chicken. Stir it well so that all chicken is coated with the sauce.
- Add 1/4 cup of the cream, the fenugreek leaves, and salt. Let it simmer for around 10-15 minutes. Stir occasionally to keep the chicken from sticking to the pan.
- Cover with a lid and let cook until the chicken is cooked thorugh. Add the remaining cream and butter.
- Stir well, so everything is combined.
- Garnish with garam masala, fenugreek leaves, and/or cilantro leaves. Serve with naan or rice.
- Enjoy!
It’s just a week until Valentine’s Day! What are your plans?
If you’re anything like me, you might be working, going to the gym… and not doing a single romantic thing that day.
But! The best part of Valentine’s Day, whether you’re in a relationship or not, is that it’s the perfect excuse to make something decadent and delicious – even if you’re keeping it all to yourself!
So this week, I’ve got our top ten most amazing Valentine’s Day sweets. Make one, make ’em all, have a sweet day!
These pretty pink Valentiene’s cookies from Claire of The Simple Sweet Life will bring out the artist in you!
Love doughnuts but hate frying? Justine’s chocolate-glazed baked doughnuts, from her blog Cooking and Beer, are the perfect easy alternative!
These gorgeous chocolate rose cupcakes from Elizabeth of Sugar Hero!, are ever so romantic!
Stacie of Simply Stacie keeps it simple with store-bought cupcake toppers for her Valentine’s Day cupcakes.
If it’s decadence you’re looking for, Liz’s โLa Vie en Roseโ chocolate cherry cake from her blog The Red Bistro fits the bill perfectly.
These cute Valentine’s Day mini cakes, that Elizabeth of Sugar Hero! made for the Oh! Nuts blog use store-bought wafers, so they’re super easy to put together!
These chocolate-covered strawberry hearts from Jen of Pink When are a fun take on a Valentine’s Day classic!
This gorgeous romantic Valentine’s Day cake from Giustina of Domestically Blissful is a beautiful edible take on the traditional heart-shaped box of chocolates.
Laurie’s chocolate champagne cupcakes, from her blog Frosting and a Smile, are perfect for any celebration!
And our number one most popular, most amazing, and most decadent Valentine’s Day sweet on Fridgg… is this chocolate raspberry mousse cake, also from Elizabeth of Sugar Hero!
I have never been so excited to have an excuse to make a recipe from Fridgg. I’ve drooled over her photos of this cake for years, but never thought I’d actually make it.
It’s even more perfect, because my mom is a huge (huge!) fan of anything chocolate-raspberry. So… guess who got most of the leftovers of this cake? ๐
Now, I know this recipe looks intimidating. Lots of ingredients, and a long, long list of directions.
But don’t be fooled! I actually found this recipe to be surprisingly easy to make. Most of the cook/prep time is actually just waiting for things to cool or chill, so you have plenty of time in-between layers to do whatever you please. And all three of the mousse layers are pretty similar, so once you’ve mastered one, the other two are a breeze.
And OH MY GOOD GOSH this cake is so amazingly delicious. You’d think it would be really rich and super heavy, and while yes it is a surprisingly heavy cake when you try to carry it around, when you eat it every bite is like eating a cloud. It’s sweet from the chocolate layers and tart from the raspberries, with a moist brownie base and a decadent ganache topping. Perfect for a Valentine’s Day party!
Chocolate Raspberry Mousse Cake
Recipe from Sugar Hero!.
Ingredients
Brownie cake:
- 4 oz (1 stick) unsalted butter
- 7 3/4 oz (1 cup + 2 tbsp) granulated sugar
- 2 large eggs, at room temperature
- 2 tsp vanilla extract
- 3 1/3 oz (3/4 cup) all-purpose flour
- 2 oz (2/3 cup) unsweetened cocoa powder
- 1/2 tsp salt
- 1/2 tsp baking powder
Chocolate mousse:
- 9 oz semi-sweet chocolate, finely chopped
- 1 3/4 cups heavy cream, divided
- a pinch of salt
- 2 tsp unflavored powdered gelatin (about 1 envelope)
- 2 tbsp water
Raspberry mousse:
Honey-vanilla mousse:
- 9 oz white chocolate, finely chopped
- 1 1/2 cups heavy cream, divided
- 4 tbsp honey
- a pinch of salt
- 2 tsp unflavored powdered gelatin (about 1 envelope)
- 2 tbsp water
- 2 tsp vanilla bean paste (can substitute vanilla extract)
Ganache/decorations:
- 4 oz semi-sweet chocolate, finely chopped
- 4 oz heavy cream
- 1 pint fresh raspberries
- chocolate curls or other decorations
Cooking Directions
Brownie cake:
- Preheat oven to 350°F. Line a 9-inch cake pan with parchment and spray with nonstick cooking spray.
- Cube the butter and place it in a medium saucepan over medium-low heat. Stir occasionally as the butter melts. Add the sugar, and stir until well mixed-in. The mixture will be grainy. Do not allow the mixture to come to a boil.
- Remove the pan from the heat, and let it cool to lukewarm. Once it has cooled, add the eggs, one at a time, whisking well after each addition. As you add the eggs, the grainy sugar/butter mixture will become shiny and smooth. Whisk in the vanilla.
- Stir in the remaining brownie ingredients.
- Scrape the brownie batter into the prepared pan, and bake for 22-24 minutes, until a toothpick comes out with just a few moist crumbs attached. Cool completely. (Your cake may come out pretty flat-looking, but do not be concerned! Mine didn’t rise at all, but that was perfectly fine and turned out totally delicious.)
- Prepare either a 9-inch cake pan with a removable bottom, or a 9-inch springform pan. Line the inner wall of the pan with a 4-inch tall acetate cake collar or a 4-inch tall strip of aluminum foil or waxed paper. Make sure your lining is long enough so that it overlaps itself.
- Once the brownie cake has completely cooled, carefully place the baked brownie cake in the bottom of the prepared pan.
Chocolate mousse:
- To prepare the chocolate mousse layer, combine the chocolate, 3/4 cup of cream, and salt in a microwave-safe bowl. Microwave in 30-second increments, stirring very well every 30 seconds, until the chocolate has melted and the mixture is smooth. (If you overheat the mixture, the cream will break and the mixture will look lumpy and greasy – if this happens, don’t worry! Just proceed with the recipe – once you mix in the other ingredients it will come together and smooth out just fine.) Let it cool to room temperature, stirring occasionally.
- While you wait for the chocolate mixture to cool, prepare the gelatin. Whisk together the gelatin and the cold water in a small bowl, and set it aside to let the gelatin absorb the water. Make sure all the gelatin looks wet. When the chocolate has cooled to room temperature, microwave the bowl of gelatin for 15 seconds, until it is melted. Whisk the melted gelatin into the chocolate mixture.
- Whip the remaining 1 cup of heavy cream to firm peaks. Fold the whipped cream into the chocolate. Scrape the mousse on top of the brownie cake, and spread it into an even layer. Refrigerate for at least 25 minutes, until the mouse has started to set and is firm enough that a second layer can be added.
Raspberry mousse:
- For the raspberry mousse, make a quick puree by blending 1/2 cup fresh raspberries in a blender or food processor. Pour them through a fine mesh strainer to remove the seeds, and measure out 1/4 cup raspberry puree. (If you have extra puree, save it for another use.)
- Combine the white chocolate, raspberry puree, 1/2 cup of heavy cream, and salt in a microwave-safe bowl. Very carefully microwave in 15-second increments, stirring very well every 15 seconds, until the chocolate has melted and the mixture is smooth. Be very very careful not to overheat the mixture, as white chocolate can easily scorch or burn if microwaved for too long (ask me how I know). Let it cool to room temperature, stirring occasionally.
- While you wait for the white chocolate mixture to cool, prepare the gelatin. Whisk together the gelatin and the cold water in a small bowl, and set it aside to let the gelatin absorb the water. Make sure all the gelatin looks wet. When the chocolate has cooled to room temperature, microwave the bowl of gelatin for 15 seconds, until it is melted. Whisk the melted gelatin into the chocolate mixture.
- Whip the remaining 1 cup of heavy cream to firm peaks. Fold the whipped cream into the white chocolate mixture. Add a few drops of pink food coloring for a more vibrantly pink color, if desired. Once the whipped cream and food coloring is mixed in, stir in the remaining 1 cup of fresh raspberries.
- Pour the raspberry mousse on top of the chocolate mousse layer, and spread it into an even layer. Refrigerate for at least 25 minutes, until the mouse has started to set.
Honey-vanilla mousse:
- Finally, prepare the vanilla bean layer. Combine the white chocolate, 1/2 cup heavy cream, honey, and salt in a microwave-safe bowl. Very carefully microwave in 15-second increments, stirring very well every 15 seconds, until the chocolate has melted and the mixture is smooth. Be very very careful not to overheat the mixture, as white chocolate can easily scorch or burn if microwaved for too long. Let it cool to room temperature, stirring occasionally.
- While you wait for the white chocolate mixture to cool, prepare the gelatin. Whisk together the gelatin and the cold water in a small bowl, and set it aside to let the gelatin absorb the water. Make sure all the gelatin looks wet. When the chocolate has cooled to room temperature, microwave the bowl of gelatin for 15 seconds, until it is melted. Whisk the melted gelatin into the chocolate mixture.
- Whip the remaining 1 cup of heavy cream to firm peaks. Fold the whipped cream into the white chocolate mixture. Stir in the vanilla bean paste.
- Pour the honey-vanilla mousse on top of the raspberry mousse layer, and spread it into an even layer. Refrigerate to set the mousse layers very well, at least 4 hours or overnight.
Ganache/toppings:
- To finish the cake, push the bottom out from the pan, or unhinge the sides, and unwrap the acetate strip. Transfer the cake to your serving platter.
- Make a quick chocolate ganache by putting the chopped chocolate in a small bowl and heating the cream to a simmer. Pour the hot cream over the chopped chocolate and whisk gently until the chocolate melts and you have a smooth, shiny mixture.
- Pour the ganache over the top of the cake, and use a spatula to nudge it right to the edge and over in evenly spaced drizzles. Donโt worry if the top is not smooth โ it will be covered up! Add the fresh raspberries and chocolate curls on top of the cake. Refrigerate to set the ganache.
- For the cleanest slices, cut the cake when it is well chilled. Use a large sharp knife, and wash it frequently between cuts. For the best taste and texture, allow the cake slices to sit at room temperature for 10-15 minutes before serving.
- Enjoy!
- The Chocolate Raspberry Mousse Cake can be stored well-wrapped in the refrigerator for up to a week.
