Archive for the ‘recipes’ Category
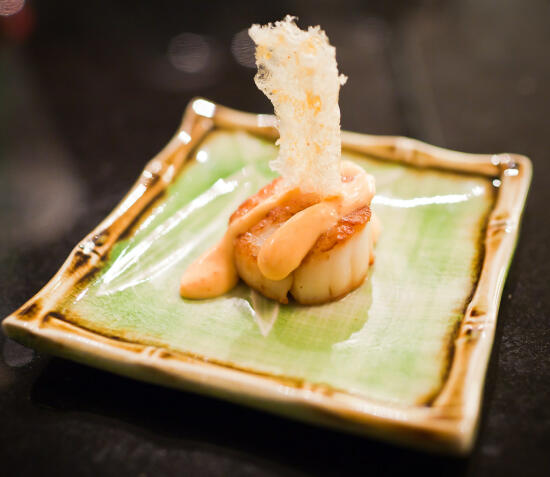
Seared Scallop with Spicy Mayo & Chicharrones
After my interview with the men of I Love Blue Sea, they sent us home with a gift of some beautiful black cod and scallops, which we cooked for my relatives that we were staying with that evening. With the black cod we made sashimi (very good!), faux-nagi, and miso black cod (recipe to come soon!). With the scallops we made Hajime’s Hotate, sashimi, and these delicious seared scallops.
Since I had wanted to stop by Boccalone in the Ferry Building to get prosciutto for the Hajime’s Hotate, I also stopped by the 4505 Meats booth at the farmer’s market (they’re there Thursdays and Saturdays) to pick up a few bags of their chicharrones, because I heard they’re to die for. (They are! Consider me addicted, now.)
After lunch at Tataki, Son and I got to thinking on the way back.
“You know what would be really good?” He paused for a long moment, keeping me in an impatient suspense while he thought about it. “What if… you know how they have bacon-wrapped scallops?”
I nodded, not sure where he was going with that.
“Well, what if we did chicharrones instead?”
“Yeah…” A slow smile grew on my face, as I saw what he was getting at. “That might be good…”
“With lemon juice,” he insisted.
“And something else…” I thought for a moment. “What if we put spicy mayonnaise on it, too? Add a little spice, to go with the spice in the chicharrones, a little creaminess…”
“Yes!” Son exclaimed. “This is going on the menu at my restaurant.”
(He has a hypothetical someday restaurant… anytime we come up with a particularly delicious recipe, it goes on the list of random things that will be on the menu if he ever opens a restaurant. Do any of you do that too? ;))
When we made this later that day, it was a hit. Delicious.
It’s definitely going on the menu.
Ingredients
- scallops
- clarified butter
- mayonnaise
- sriracha sauce
- lemon juice
- chicharrones (preferably from 4505 Meats)
Cooking Directions
- Pat the scallops dry between two paper towels.
- Heat the butter in a pan until it is almost smoking.
- Sear the scallops on one side without moving around for a couple of minutes, until caramelized on the bottom. Flip and cook for a minute longer, before removing to a plate.
- Mix the mayonnaise and sriracha sauce.
- Top each scallop with a drizzle of spicy mayonnaise, a squirt of lemon juice, and a chicharron.
- Enjoy!
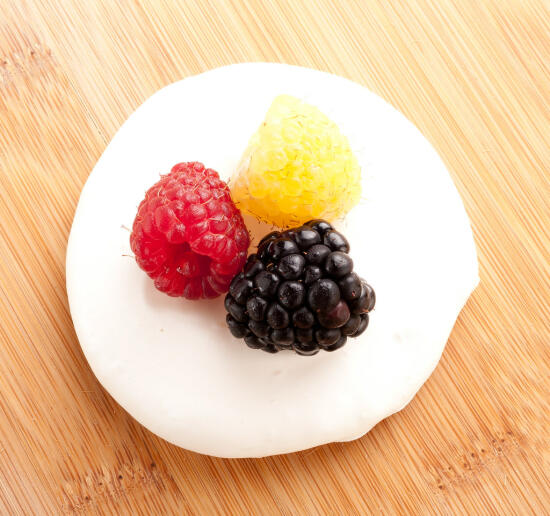
Meringues topped with fresh berries
A few weeks ago, Son and I drove up to San Francisco because I was going to the BlogHer Food conference. The organizers were awesome enough to put Son’s name on the list for the final afterparty (thanks, Jaden!), and, well, we loved it. The (entirely gluten-free) menu was amazing, the music rocked, and people had far too much fun at the photo booth.

A dessert table at the BlogHer Food afterparty
But one thing that really stood out were the dessert tables.

Peanut Butter & Chocolate Mousse at BlogHer Food
Personally, I had a thing for the spoons of peanut butter and chocolate mousse. I’m a diehard peanut-butter/chocolate fan. Ooooh, they were so good.
Son, on the other hand, fell madly in love with the clouds of meringue, topped with fresh berries. (At least, I think it was meringue.) So much, in fact, that he’s been begging me to make them ever since we returned from the trip.

Meringue with Berries at BlogHer Food
Finally I got around to attempting the recipe, when I realized that a cupcake recipe that I was making (which I’ll post soon!) used four egg yolks – which would leave me with four leftover egg whites. Perfect!
I’ve never made meringues before. So… I didn’t know what to expect, when I was preparing them. After mixing for 5 minutes (shush, I’m impatient sometimes), I got discouraged because it was still a very liquid mixture. What did I do wrong?!?! So of course, I ran back to my computer and looked up meringues, to try to figure out why it just wasn’t working for me.
Turns out I was fine. I didn’t do anything wrong. I just hadn’t been mixing it long enough. Be ready to mix for at least 20 minutes (with my electric hand mixer, it took me 30 minutes on medium-high speed to get it to the proper consistency).
And when all was said and done? They came out wonderfully. The flat ones that I made (that you see in the photos) didn’t even crack! (The ones where I just dolloped a spoonful of meringue on the pan and didn’t flatten them at all did crack a little and ooze and bubble along the fault-line, but they were still tasty.)
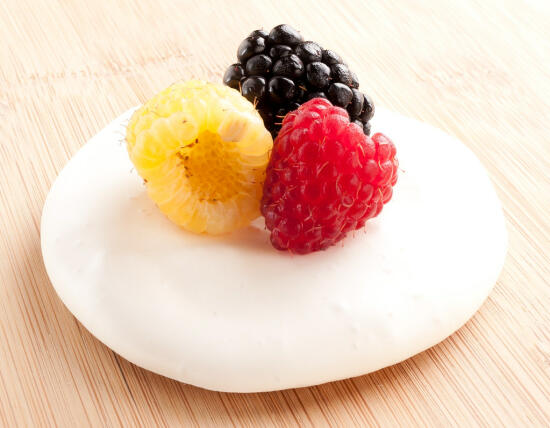
They’re kind of like little clouds
Meringues, adapted from Authentic French Meringues on Allrecipes.com.
Ingredients
- 4 egg whites, at room temperature
- 2 1/4 cups (270 g) powdered sugar
- fresh berries
Cooking Directions
- Preheat the oven to 200°F. Line a baking sheet with parchment paper.
- Whip egg whites until foamy using an electric mixer. Sprinkle in the powdered sugar a little at a time, while continuing to whip at medium speed.
- Continue to whip until the mixture becomes stiff and shiny like satin and you have stiff peaks. This can take about half an hour, using a hand mixer.
- Scoop dollops of the meringue onto the baking sheet, using the back of the spoon to flatten them a little and put a small indentation in the center of each disc of meringue. (Or you can pipe the meringue out onto the prepared baking sheet using a pastry bag fitted with a large round or star tip.)
- Place the meringues in the oven and place a wooden spoon handle in the door to keep it from closing all the way. Bake for 3 hours, or until the meringues are dry, and can easily be removed from the pan. (After 1.5 hours it looked like it was done, but it was still a little gooey on the inside. I recommend cooking them for the full three hours.)
- When the meringues are done, top with a few berried immediately before serving. Leftovers can be stored in an airtight container for several days.
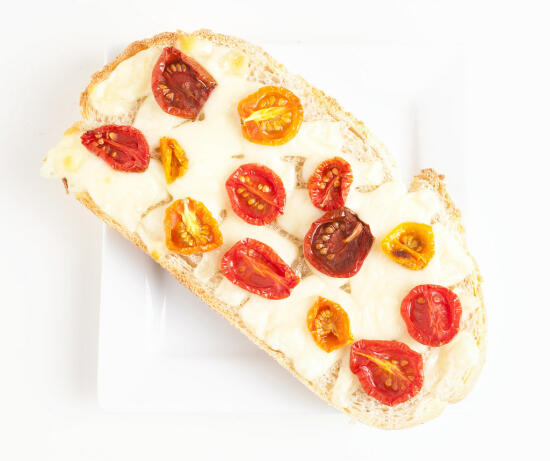
Mozzarella and Tomato Bruschetta
I grew up in a household where we used a lot of processed, prepackaged foods. We made a lot of things from mixes, or from canned condensed soup. We would have never even considered buying anything but Skippy peanut butter, or Best Foods mayonnaise, or that round mozzarella cheese that comes shrink-wrapped.
I still love most of the foods I grew up with. I can’t help it, and it’s probably the same for most of you. It’s only natural to love the foods from your childhood.
But recently, I finally realized there was more out there. That I could eat better than that. That I could make things from scratch, which I’ve been doing for the last couple of years, but more importantly that I can buy quality food. Really, really, really good ingredients.
Last month, several things happened to open my eyes to this:
Andrew Wilder, a new food blogger that I met on the train in Seattle as we were both going to IFBC, decided to make October the month of unprocessed foods, and involve all sorts of bloggers in it. It was pretty awesome seeing this happen – when I first met him he explained to me how he was a really new blogger, trying to find his way in the world of food blogging. And then after the conference, after our plane touched down at LAX (we had the same flight back), we discussed his idea as we walked to the baggage claim area. He called it October: Unprocessed. And although I didn’t fully participate, it made me a lot more conscious about how I eat. Holy cow, I used to eat a ton of processed foods. He helped me become far more aware of that
I went to BlogHer Food. The conference was great and all, but what really moved me were my friends there. Jen, Todd and Diane, Shauna and Danny (and Lucy of course!), Penny, Molly, Anita, Aran, Irvin and AJ, and so many more… These are all people whose work I look at, and it’s all so inspiring. These people love food… and it shows in their blogs. I wanted to be able to love my food as much as they love theirs.
But most importantly, the one thing that made me want to completely overhaul the way I eat and cook were my Uncle Walter and Auntie Lydia. We stayed with them for a week after BlogHer Food was over. These people eat so well. Not only do they know of some excellent restaurants in their area, they also have a kitchen (and a good bit of their garage) filled with all sorts of fantastic food that they cook into excellent meals.
So my food habits have slowly begun to change. I shop at Whole Foods and the farmer’s markets more often than the grocery store I used to frequent. I’m demanding higher quality. I’m willing to spend a little more to eat better, because not only does it taste better, but it’s also better for me.
This simple recipe is an example of that. The tomatoes and mozzarella are from the farmer’s market, the bread was from Whole Foods. And it’s delicious.
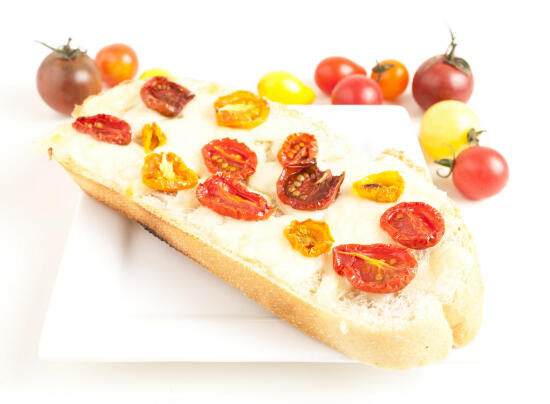
In other words, fancy pizza.
Ingredients
Cooking Directions
- Thinly slice the French bread.
- Top with slices of mozzarella cheese and roasted cherry tomatoes.
- Toast on the ‘dark’ setting, or until cheese is bubbly. Or bake at 400°F for 5-10 minutes.
- Enjoy!
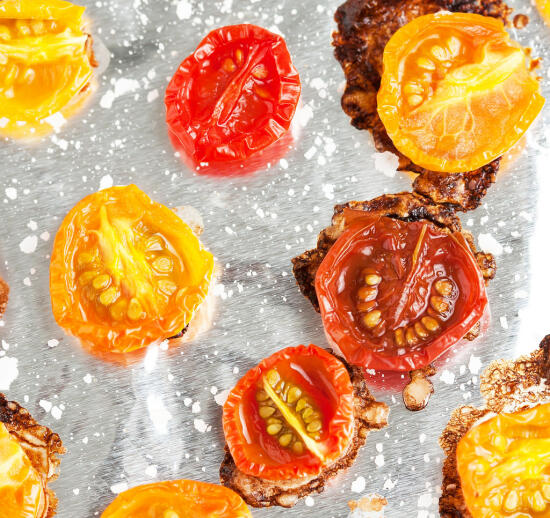
Roasted cherry tomatoes
Cherry tomatoes are purty. Especially when they come in all colors, and sit so temptingly on a table at the farmer’s market.
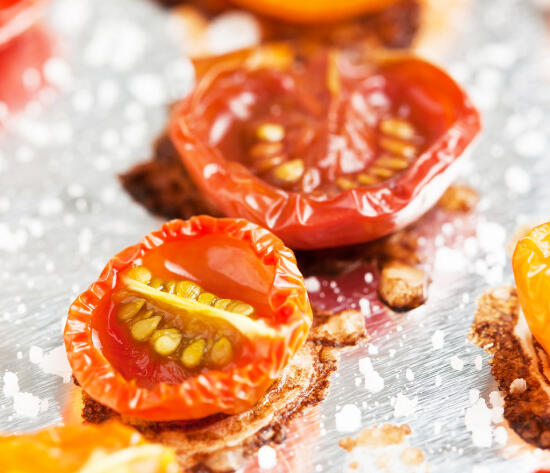
So pretty.
I couldn’t resist them. But once I had them at home… well, I had to do something with them.
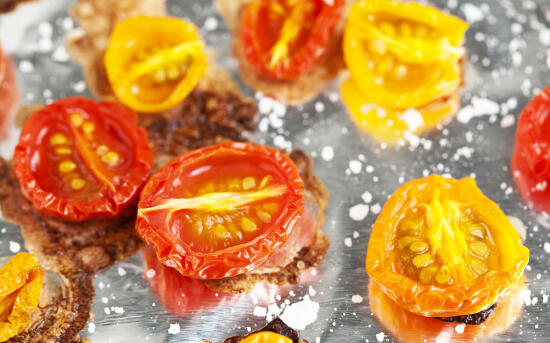
And so tasty.
So… I roasted them. Quick, easy, and it brings out the bright summery flavors, which are more than welcome in this tempramental fall we’re having in Southern California, that can’t decide whether it still wants to be summer or would rather jump ahead into winter.
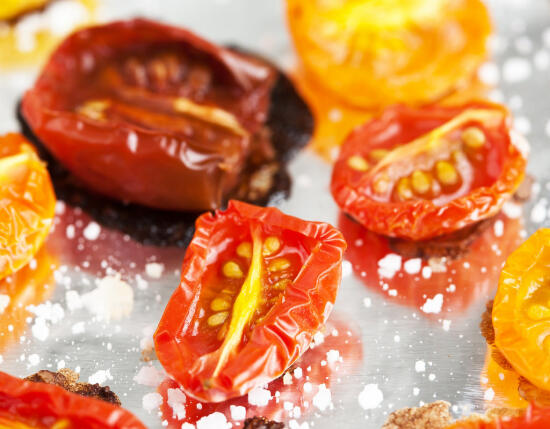
Did I mention how pretty they are?
But what did I do with them once I roasted them? Well, you saw them as a side with the sake-steamed black cod that I made… and if you peek over at Sushi Day you’ll see a deconstructed cocktail sauce I made with them… and in a day or two you’ll get to see what else I made with them. Good stuff.
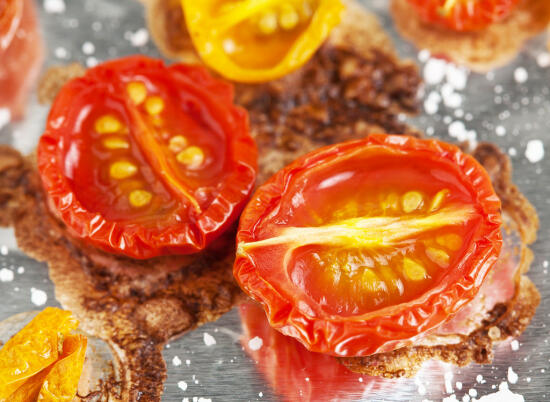
Son couldn’t stop taking pictures of them.
Ingredients
- cherry tomatoes
- kosher salt
Cooking Directions
- Preheat the oven to 350° F.
- Slice each tomato in half. Place on baking sheet, cut side up. Salt.
- Roast for about 30 minutes, or until they are oozing their liquids and just starting to shrivel, but not burning.
Pan-Fried Corn and Asparagus
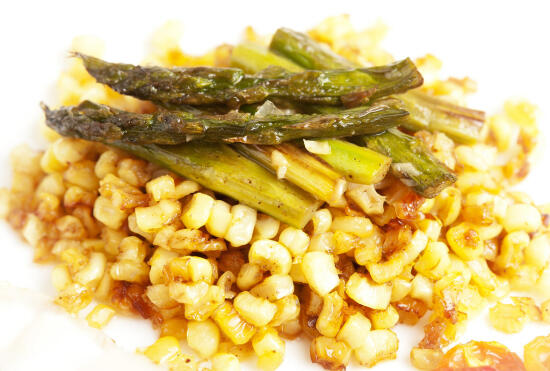
BUTTER.
I do love it so.
Especially when browned and used to fry my favorite types of vegetables and ohmygoodness yum.
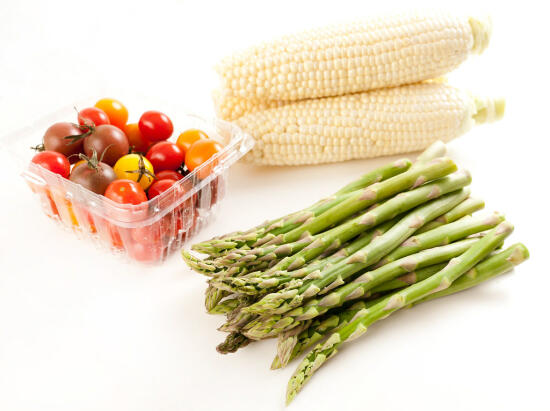
Ingredients in the Raw
And Momofuku? My Dad got me the cookbook for my birthday. As I read through the book, every page or so you’d hear, “Ohmygosh, they have a recipe for [insert something I’ve always wanted to learn how to make here]!!!”
I was beyond excited. So when Son came home with some fish for me to cook for dinner (I made it with a miso marinade that I’ll be posting soon), I knew I just had to make this recipe for asparagus from the book.
Which I did. And we ate it all up. And then I made it again, to eat with the sake-steamed black cod that I made, except this time I tweaked the recipe just the tiniest bit to add corn, and didn’t make the miso butter (or use the poached egg) that the recipe from the book included.
Believe me. You want to make this. You WILL make this. *jedi hand-wave*
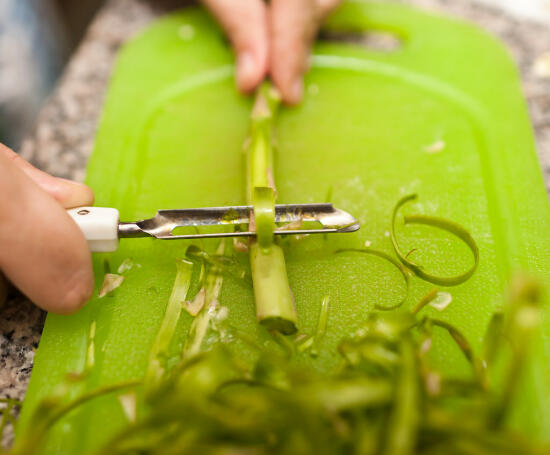
Shaving the asparagus
Tip: In the book, the recipe says to peel off the outer layer from the bottom couple of inches of asparagus. But I’m lazy. And I’d never done this before for asparagus, so I figured it was one of those little things that you could probably just skip.
Don’t do what I did. Don’t skip that step.
The bottom half of each stalk of asparagus ended up stringy, and I actually had to spit it out a couple of times because I just couldn’t chew it up. I know. Ew. So take the extra time to peel it – the asparagus will be infinitely better than if you don’t. And it really doesn’t take all that long anyways. Trust me on this one.
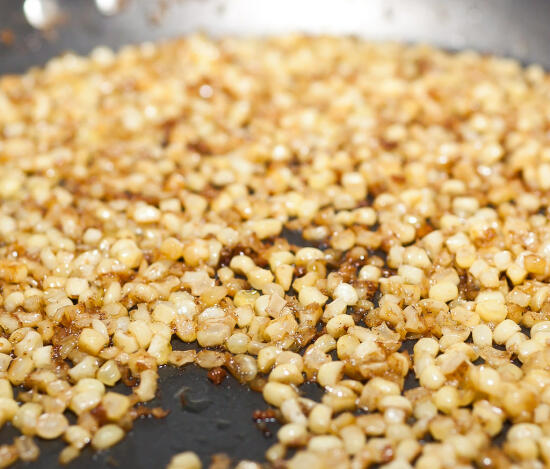
Pan-frying the corn
Adapted from Momofuku, by David Chang and Peter Meehan.
Ingredients
- 1 bunch asparagus
- 3 cobs of corn
- 1/2 stick (4 tbsp) unsalted butter
- salt
Cooking Directions
- Wash the asparagus, trim off the bottom 1-2 inches of each stalk.
- Peel the skin off the lower 2-3 inches of each stalk of asparagus.
- Using a sharp knife or a corn shaver, carefully shave the kernels off the three cobs of corn.
- Melt the butter in a large, flat pan.
- Add the asparagus to the butter, allowing all pieces to lay flat on the pan. Don’t crowd the asparagus – if they don’t all fit, do it in batches.
- Let fry without moving them for a few minutes, or until they begin to brown on the bottom. Salt the asparagus, then flip and brown the other side.
- Once the second side has browned, remove the asparagus from the pan and add the corn kernels.
- Fry, stirring, until the corn begin to look transluscent and a beautiful golden-brown.
- If you’d like, you can chop the asparagus into thirds.
- Enjoy!


