Octopus Calamari
I first tried calamari three years ago, when Son took me to a sushi restaurant for my birthday. I enjoyed it quite a bit, but this was an entire year before I began blogging – I didn’t cook much at home, so it never occurred to me to try making calamari on my own.
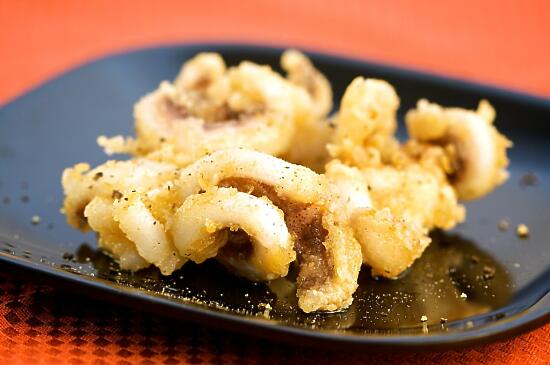
Yummy, chewy calamari.
A year ago, my brother first tried calamari. It was love at first bite, and he’s been begging me to make him calamari ever since. Of course we’ve both been busy, so we’ve never had time to get together and make calamari (meaning I cook, he pigs out)… until now.
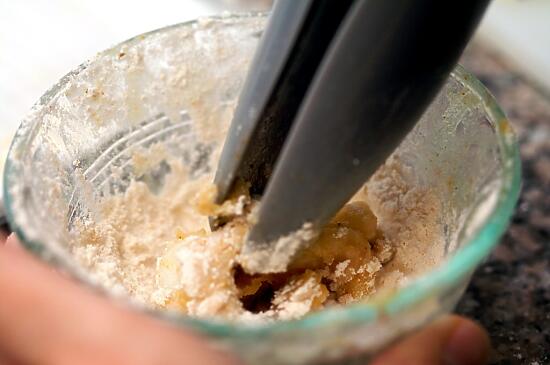
Coat in flour…
On Christmas, after the family had finished opening presents, my brother went to the fridge and presented me with a package of raw octopus. “I’m gonna come over to your apartment this week, and you’re going to make me calamari.” Now that he has his driver’s license (goodness help me) he looks for any excuse to drive to my apartment, especially when I’m cooking. Of course, I’m always happy to have my little brother visit (even if the thought of him driving scares the **** out of me!)

…place in a pot of hot oil…
Wow. I never realized just how easy it would be to make calamari. I imagined some ten-step process of coating in flour, then some fancy batter, then frying it and so on and so forth. In reality, it couldn’t be easier – all you have to do is coat it in flour and fry it. We gave it a double coating (coat, fry, coat, fry again) so it would be extra crunchy and also cook longer (even though the octopus was sashimi-grade, my brother’s not supposed to eat raw seafood due to his leukemia.)
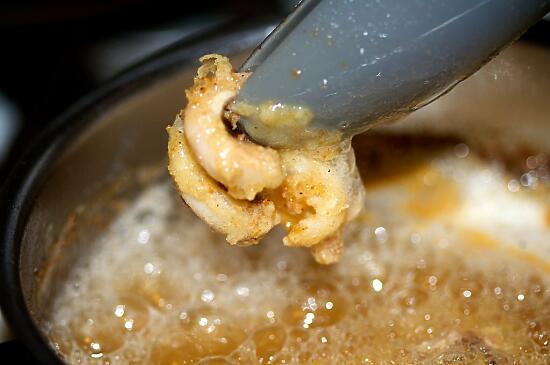
…bubble bubble bubble…
The result? Delicious. Or at least, I assume so. I didn’t actually get any – I was so busy cooking, the two boys ate it all up before I could get any! According to my brother, he’ll be over here very often so I can make him more calamari. Success!
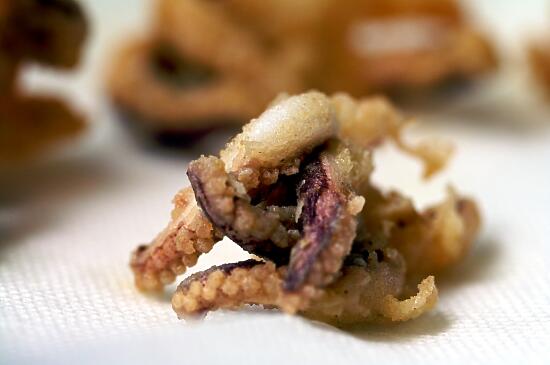
…drain…
Oh, and yes, I know, calamari is supposed to be made with squid, not octopus. We used octopus because that’s what my brother had bought for me to cook. Turned out just as well, but be forewarned that octopus is much chewier than squid… so if you are like me and don’t like super-duper rubbery foods, then go with squid instead.
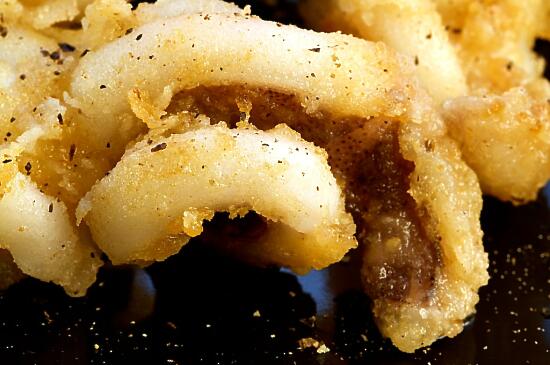
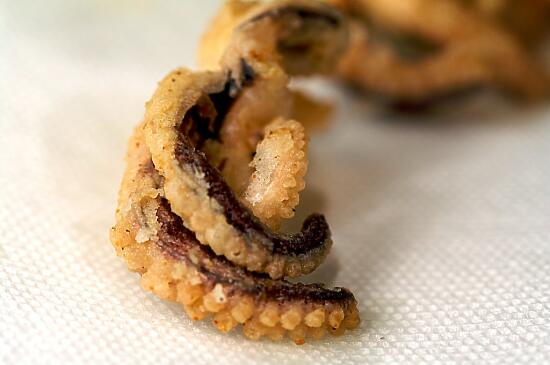
…and enjoy!
Ingredients
- raw octopus or squid
- flour
- seasonings (I used Old Bay Garlic and Herb)
- vegetable oil
Cooking Directions
- Mix the flour and seasonings.
- Coat the squid well with the flour mixture.
- Deep fry the coated squid in a pot of hot oil until golden brown.
- Repeat steps 2 and 3.
- Let drain on paper towels.
- Enjoy!

Mmmmmm…
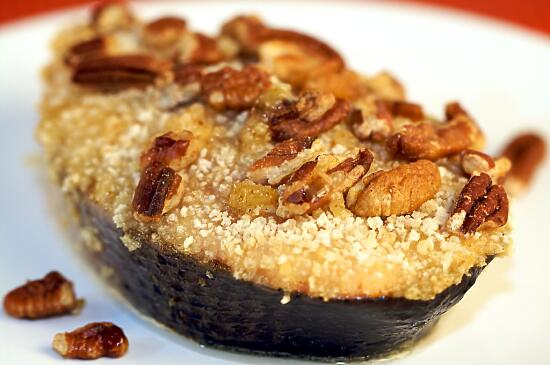
Alaska Salmon Bake with Pecan Crunch Coating
My brother is a silly boy, though he generally has the best of intentions. For example, he got me a can of SPAM for Christmas… because he wanted me to make him some SPAM Musubi. (He also gave me some raw octopus, the result of which you shall see here soon, and a Chia herb garden which is growing wonderfully. Makes me very happy to finally have herbs growing well in my kitchen. There will be pictures soon!) For Son, he bought a salmon steak.
Most people might think, “A salmon steak? What kind of Christmas gift is that?” But no, not Son. Turns out this was the perfect gift for him – Son was genuinely excited. Even more so when I made him this Alaska Salmon Bake with Pecan Crunch Coating that I adapted from a recipe I found on AllRecipes. It’s a delicious way to eat salmon, easy enough for a night in, but still fancy enough for a dinner party.
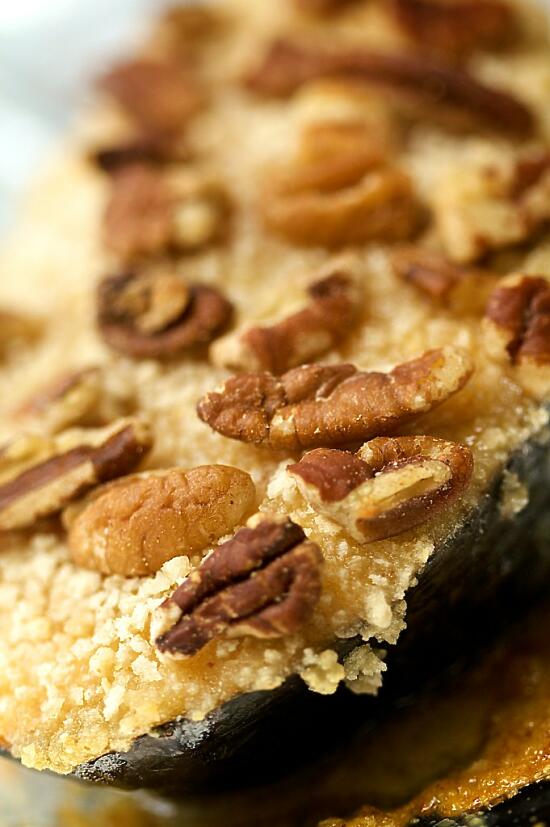
Amazing, amazing salmon.
Ingredients
- 3 tbsp Dijon mustard
- 3 tbsp butter, melted
- 5 tsp honey
- 1/2 c fresh bread crumbs
- 1/2 c finely chopped pecans
- 6 (4 oz) fillets salmon
- salt and pepper to taste
Cooking Directions
- Preheat the oven to 400° F.
- In a small bowl, mix together the mustard, butter, and honey.
- In another bowl, mix together the bread crumbs and pecans.
- Season each salmon fillet with salt and pepper.
- Place on a lightly greased baking sheet.
- Brush with mustard-honey mixture.
- Cover the top of each fillet with bread crumb mixture.
- Bake for 10 minutes per inch of thickness, measured at thickest part, or until salmon just flakes when tested with a fork.
- Enjoy! Serves six.
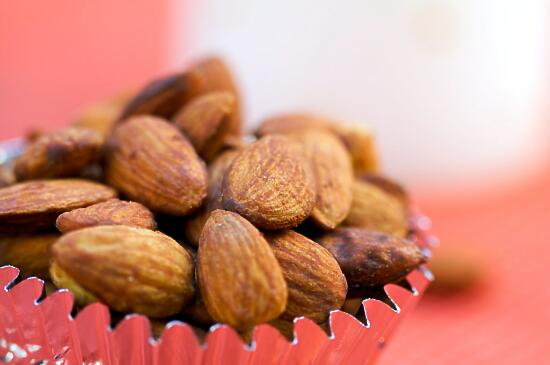
Shoyu Almonds
Every family has their holiday traditions. Over the years, traditions can change – families grow, shrink, divide, come together. Some traditions fade and new ones take their place, others only grow stronger over the years. Just like any other family, my family has their traditions. We decorate the Christmas tree with ornaments that have been in the family longer than I have, we decorate sugar cookies with brightly colored sprinkles. On Christmas morning, there are cinnamon rolls (traditionally from Cinnabon, though nowadays I bake them from scratch), on New Year’s morning breakfast fried rice (simply rice, shoyu, and bacon) while we watch the Rose Parade. And of course the holiday goodies, including (but not limited to) shoyu almonds.
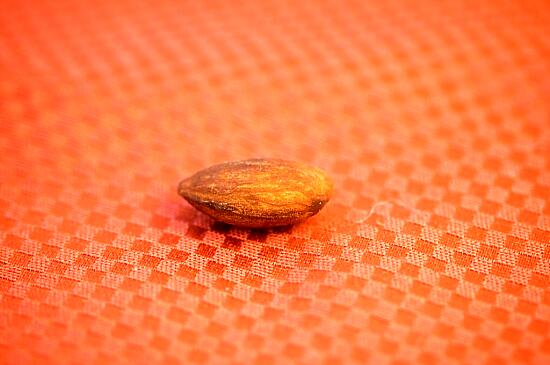
Salty, savory…
Every year for as long as I can remember, my mother has made these shoyu almonds. All her friends and coworkers love them, and us kids would always snitch some from the bag whenever we could get away with it. Of course now that I’m all grown up and moved out of the house, it’s a little more difficult to sneak some almonds whenever I want. So instead, I’ve started my own tradition – making almonds (along with other goodies) to give to my close friends, (and keeping half a batch all for myself).
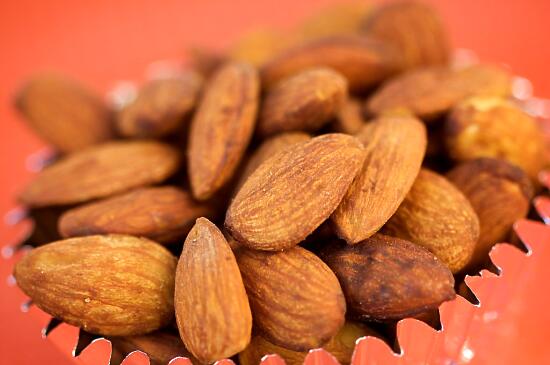
…crunchy shoyu almonds.
Ingredients
- 2 lbs raw almonds
- 1/2 cup shoyu (soy sauce)
Cooking Directions
- Roast almonds on a cookie sheet at 350° for 25 minutes, stirring once or twice.
- Turn off the oven.
- Pour the almonds into a large bowl.
- Add shoyu, stir until all shoyu has been absorbed by the almonds.
- Pour back onto cookie sheet.
- Place back into the turned-off oven until dry, about one hour.
- Store in an airtight container.
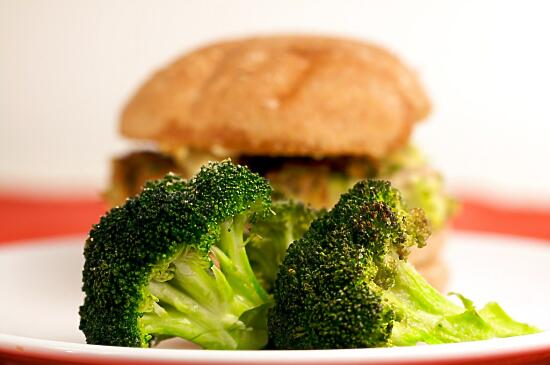
The yummiest roasted broccoli!
I’ve said it before, and I’ll say it again. I am not a vegetable fan. I was the girl who would never eat her vegetables, and everyone knew it.
Now that I’m older, things are changing. Lucky for me (well, for my health) Son won’t take any nonsense when it comes to me eating healthy, so I don’t have much of a choice. To make life a little more enjoyable for myself, I’ve tried to find vegetable recipes that I actually enjoy, rather than having to force them down.
The credit for finding this recipe goes to my sister. She’ll randomly send me links to recipes that she wants me to make for her, and this was one of the better ones… in fact, just plain amazing! Sure, broccoli used to be one of the only vegetables I’d eat, but I certainly wouldn’t go out of my way to eat some when I was younger. Who would’ve ever known I’d crave broccoli?
Recipe adapted from Amateur Gourmet.
Ingredients
- 4-5 lbs broccoli
- 5 tbsp olive oil
- 1 1/2 tsp salt
- 1/2 tsp pepper
- 1 1/2 tsp garlic powder
Cooking Directions
- Preheat oven to 425°.
- Wash broccoli and dry extremely well (or don’t wash it and hope the heat kills any germs.)
- Cut broccoli into florets.
- Toss all ingredients together.
- Spread the broccoli evenly on a cookie sheet.
- Roast in the oven for 20-25 minutes, or until the tips of the broccoli are browned.

More beautiful virtual flowers…
One hug is never enough. Especially when times are difficult, you can always use another hug. So though I already gave Barbara from Winos and Foodies a hug over on Sushi Day, I felt that I should do what little I can, and give her another virtual hug (and several more virtual flowers) here on Fridgg.

… from Son’s dad’s garden…
Barbara is currently battling cancer. Though I am lucky to have never had to go through the trials of having cancer, and I can’t possibly know how it feels, I do know that it sucks. A lot. I have two immediate family members who have dealt with three separate occurrences of cancer, and I know that calling life with cancer “unpleasant” is a grave understatement. Thus food bloggers from all over the world have come together to give Barbara a HUGE virtual hug, all brought together by the genius of Bron and Ilva.

… just for you, Barbara!
Even if sushi is too much effort with the way your body feels from the effects of both cancer and chemotherapy, these tuna cakes are much, much easier. For me these are the perfect comfort food – easy to make, warm and filling, delicious and even good for you. For you Barbara, many, many hugs from Southern California!
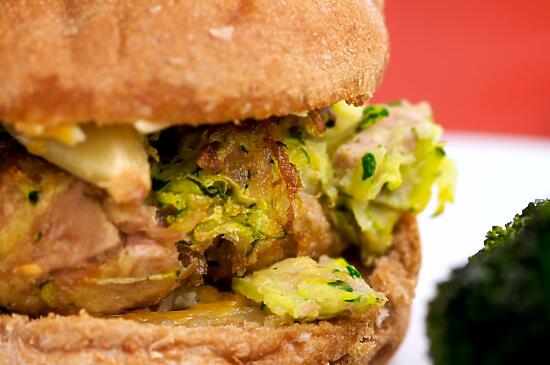
Tuna cake sandwich…
Ingredients
- 1 can tuna
- 1 medium zucchini
- 1 large egg
- a handful of breadcrumbs
- vegetable oil
Cooking Directions
- Wash the zucchini.
- Cut off the ends of the zucchini, then shred.
- Pat zucchini dry with several paper towels.
- Drain the can of tuna well, then scoop tuna into a bowl.
- Mix with zucchini, egg, and breadcrumbs.
- Form into two disks.
- Heat oil in a frying pan.
- Once the oil is hot, fry the tuna cakes until browned on both sides.
- Drain on paper towels.
- Enjoy by themselves, or in a sandwich with mustard and mayonnaise.

… on roasted garlic bread wheat rolls.


