Archive for the ‘recipes’ Category
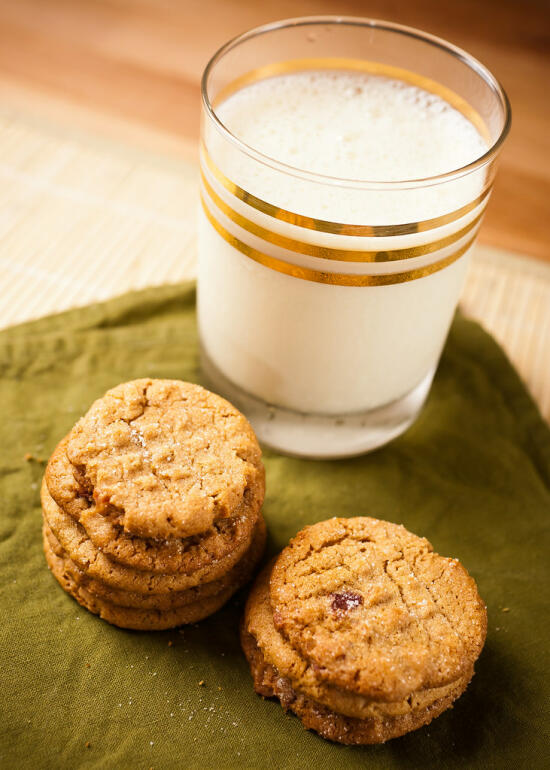
Cookies for Santa?
There are food bloggers, and then there are food bloggers.
There are those of us who are on top of things… who make a whole Thanksgiving dinner a month before Thanksgiving. That way we can write about all our dishes before the holiday, so our readers can make those dishes for Thanksgiving.
Those of us who already know what we’re going to bake long before December, and have already tested the recipes and taken the photos before there’s even a hint of December in the air.
Those people are probably already starting to think about what they’ll be serving for Easter next year.
Oops…
I… am most certainly not one of those people.
Heh. Yeah. Definitely not.
Holiday baking? Um… haven’t even started.
Right. Gotta get on that.
I’m more the kind of food blogger who cooks for a holiday, like a normal person, and then posts about it after the fact, right about when nobody cares about that holiday any longer. Yeah, I’m timely like that.
Anyways.
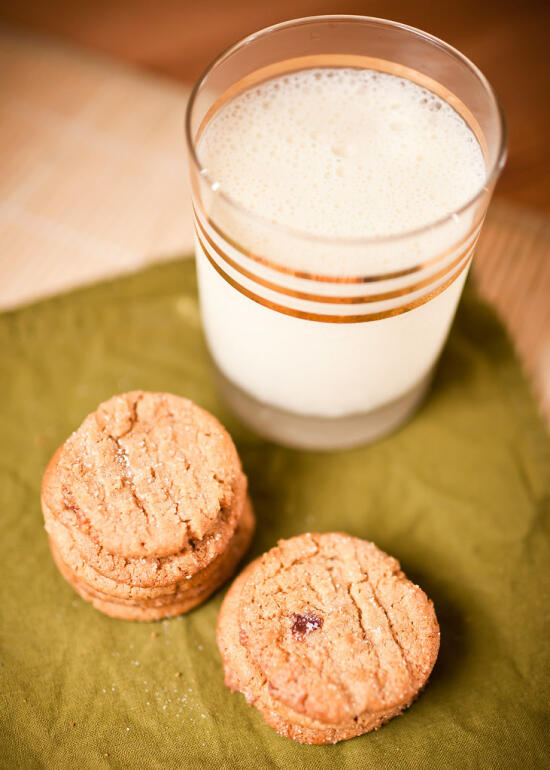
I made these cookies, from Joy the Baker way back in June, but at the time I definitely didn’t have Christmas on the mind. (No, these were for my little sister, who was graduating at the time.)
However, these are definitely going to make an appearance for Christmas as well. After all, these flourless cookies made my newly gluten-free grandmother tear up when she realized she could actually eat some! Yes, that totally means I need to make them again…
(Also, as a side note, if you accidentally only put in half the amount of peanut butter, your cookies will turn out very flat. Still delicious, but definitely flatter than they should be… o_0)
Nom.
Peanut Butter Bacon Cookies
Cook Time: 10 minutes
Ingredients
- 1 cup peanut butter
- 1/2 cup granulated sugar
- 1/2 cup brown sugar
- 1 egg
- 1 tsp baking soda
- 6 slices bacon
Cooking Directions
- In a frying pan, fry up the bacon until crispy. Let cool on paper towels, and then dice into small (1/4-inch) pieces.
- Preheat the oven to 350 degrees F.
- Line a baking sheet with parchment paper.
- Cream the peanut butter and sugars, about 2 minutes. Add in the egg and baking soda and mix for another 2 minutes. Fold in the bacon.
- Roll the dough into 1-1/2 inch balls, and place 2 inches apart on the baking sheet. Flatten in a criss-cross pattern using a fork dipped in sugar.
- Bake 10 minutes, then cool on a cooling rack.
- Enjoy!
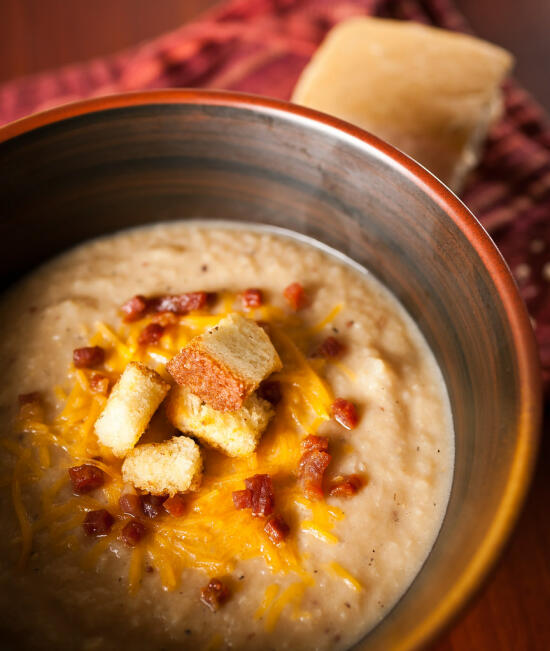
Creamy Cauliflower Soup
In today’s edition of ‘Foods Allison hated when she was a kid’ (trust me, this could go on for a while)… CAULIFLOWER.
Growing up, my sister loved cauliflower. Me, I was more of a broccoli kind of girl. (Cauliflower for dinner?! Eeewwww… gross.)
(As an amusing aside, the other day I mentioned to my mom that I’m not a huge fan of bell peppers. She responded, “Really? I thought you like everything?!” I looked at her askance and burst out laughing. “You do realize I’m the kid who wouldn’t eat anything when I was younger…” “Yeah,” she mused, “you were so picky when you were little!”)
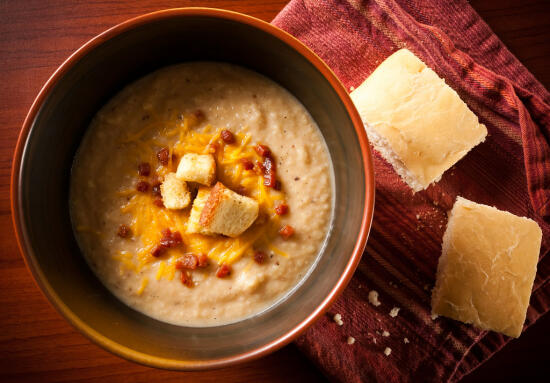
Look, mom, I’m eating cauliflower!
I actually had no plans to try making anything with cauliflower in it anytime soon… the subconscious memories of my childhood aversion to it meant that it simply never occurred to me to even consider buying any. But a conversation with a friend about roasting vegetables (hi, Joann!) convinced me that maybe it was time to give that squeaky white vegetable a try once more.
So I bought a head of cauliflower.
And proceeded to look at it for two days, never quite going through with my intention to roast it.
But then I saw this recipe for Creamy Cauliflower Soup and thought… “okay, I can do that.”
Despite a few mishaps along the way (I didn’t check my pantry before going grocery shopping, and found out once I started cooking that – oops – I only had chicken stock, no vegetable stock), the soup turned out wonderfully. The potato adds enough creaminess and the caramelized onions enough sweetness to make the soup taste really decedent, even though it’s really just a bowl full of vegetables.
So do I love cauliflower now?
Well… not quite. The “squeakiness” of it still gets to me. However, I did eat up the entire batch of this cauliflower soup… so I will admit it’s starting to grow on me.
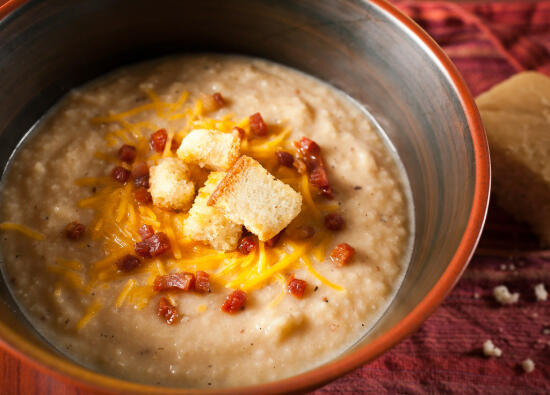
Those croutons are to die for.
Creamy Cauliflower Soup
Total Time: 40 minutes
Ingredients
- 6 oz whole grain bread, cut into cubes
- 2 tbsp unsalted butter, melted
- 2 tbsp olive oil
- 1 tbsp dijon mustard
- kosher salt
- 2 tbsp unsalted butter
- 2 shallots, minced
- 1 medium yellow onion, chopped
- 1 medium potato, peeled and diced into 1/4-inch cubes
- 2 cloves garlic, minced
- 3 1/2 cups vegetable broth
- 1/2 head cauliflower, chopped into small florets
- 2/3 cups shredded cheddar cheese, plus more for garnish
- 2 tsp dijon mustard
Cooking Directions
- To make the croutons: Preheat the oven to 350? F. Place the bread cubes in a medium bowl and toss with the melted butter, olive oil, and 1 tbsp dijon mustard until evenly coated. Spread the bread cubes out in an even layer on a baking sheet and sprinkle with salt. Bake for 10-15 minutes or until crunchy.
- Meanwhile, melt the remaining 2 tbsp of butter in a large pot over medium-high heat. Add the shallots and onion and cook, stirring occasionally, until slightly softened, about 4-5 minutes. Season with salt, then mix in the potato, garlic and vegetable broth. Cover the pot and bring to a boil. Lower the heat to a simmer, keep covered, and let cook for about 8 minutes or until the potatoes are tender. Add the cauliflower and cook about 5-6 minutes more, until the cauliflower is tender. Stir in the cheese and mustard.
- Puree with an immersion blender (or a food processor, vented to allow the steam to escape). Mix in additional water or broth if the soup is too thick. Season with additional salt to taste. Serve warm topped with additional shredded cheese and the croutons.
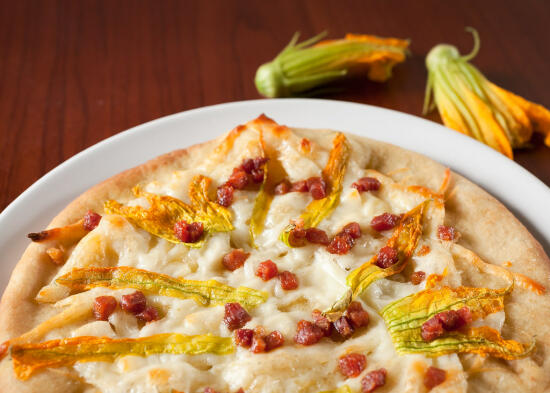
Squash blossoms, pancetta, cheese…
There are two big themes that seem to run through my cooking ever since I “grew up”. The first is the realization that I actually like foods that I always swore I hated when I was younger, and the second is the discovery of many foods I never knew about as a child.
Well, that isn’t exactly true. Several of these foods – like Brussels sprouts, for example – I had heard of quite often. Every children’s book talks about kids who refuse to eat their Brussels sprouts. But they seemed a kind of fairy-tale invention… in the same way that curds and whey or Turkish delight did. These were foods that, to my younger self, didn’t really exist in the real world (or, at the very least, my idea of what they actually were when I read about them in stories greatly differed from what they are in real life. I always thought curds and whey was something like oatmeal…)
But it’s these “fairy tale” foods, or the foods that I’d never even heard about until several years into food blogging, that hold the biggest fascination for me. Like Brussels sprouts. (I never had them as a child, and have loved them ever since I first tried them as an adult.) Or zucchini blossoms… why didn’t anyone ever tell me that you could eat flowers?!
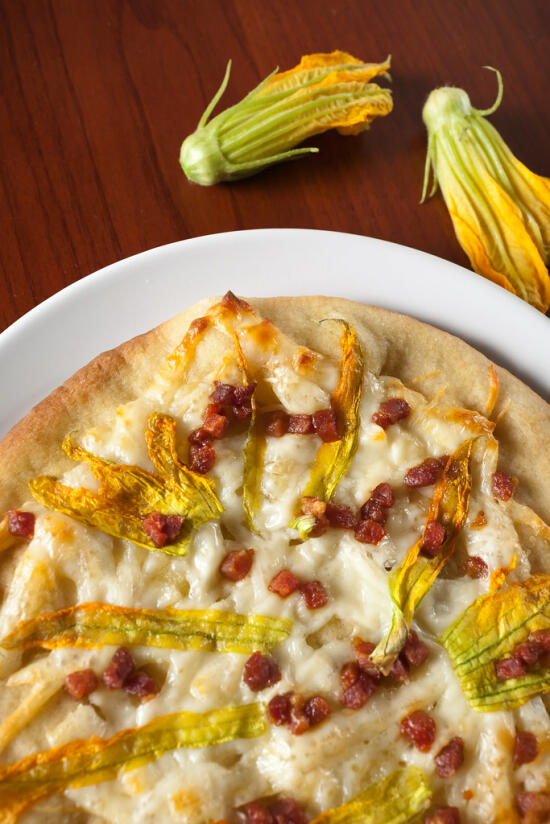
I love the vibrant colors of the squash blossoms
Just as with my first encounter with Brussels sprouts, it took a year or two for me to build up the courage to actually buy them. I’ve never cooked these flowers… what if I do something wrong, or buy them and make a disaster of them, or…
But last week at the farmer’s market, I saw them for the first time at one of my usual stands… and on a spontaneous whim, they somehow ended up coming home with me. But now what?
Thank goodness for Twitter. It’s a lifesaver, in times like these. The very awesome Gaby Dalkin rescued me with the idea to put them on pizza (and she even had a recipe on her blog that I could check out!)
Oh my… yum. I had some flatbreads in the freezer from the hummus stand at the farmer’s market that my mom had told me were great for pizza, so I pulled those out, spread them with a little olive oil, mozzarella cheese, pancetta, and these squash blossoms. So good. The squash blossoms have a very delicate flavor, so you don’t want to overwhelm them with strong cheeses or other toppings… but this was perfect.
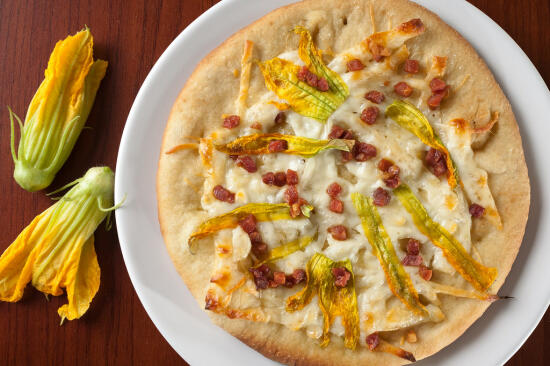
Quick and delicious!
Very closely based on the Squash Blossom and Pancetta Pizza recipe from What’s Gaby Cooking. If you want real pizza, follow her recipe… mine uses a pre-made flatbread, so the cooking times and temperatures are different.
Ingredients
- 1 8″ flatbread
- 1 tbsp olive oil
- 1 oz shredded mozzarella cheese
- 2 squash blossoms
- 1/2 oz pancetta
Cooking Directions
- Preheat the oven to 350° F.
- Saute the pancetta in a skillet until it gets browned and crispy.
- Brush the flatbread with olive oil. Sprinkle with the mozzarella cheese.
- Cut off the bottom of the blossoms and clean out the insides, then tear them into large pieces.
- Top the pizza with the pancetta and blossoms.
- Bake for 15 minutes, or until the cheese is melted.
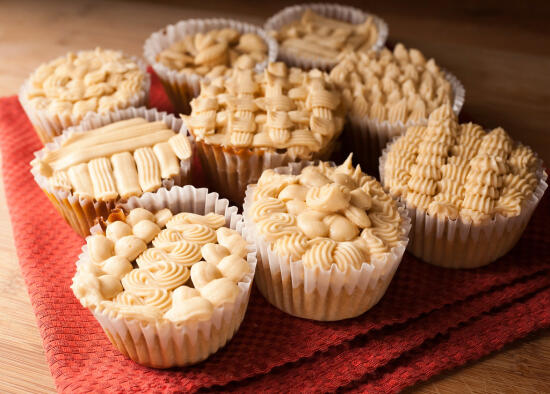
Butterbeer Cupcakes
I was an early adopter, when it came to Harry Potter. My grandparents got me the first book when I was in middle school. I loved it, of course.
I then proceeded to dress up as Draco Malfoy that Halloween. Complete with cape and Nimbus 2000. (My little sister dressed up as Harry Potter. No, you don’t get to see pictures.)
Not a single person at my school had any clue who I was. (Once a dork, always a dork…)
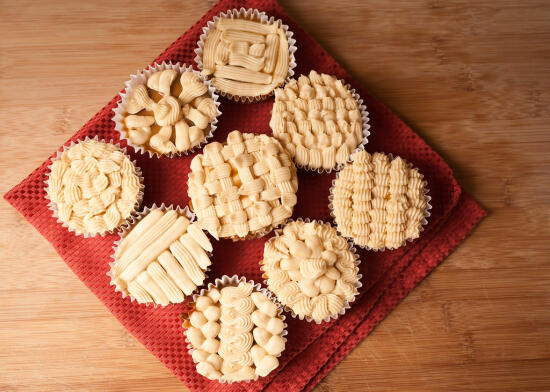
Luscious brown sugar cupcakes…
Flash forward a decade, and Harry Potter is all the rage. And… I’m just not feeling it. Yeah, I know, I know. But somewhere between the 4th and 5th books, I just fell out of love with it.
(I haven’t seen the movies, either… just bits of the first one. But I’ve never been much of a movie person.)
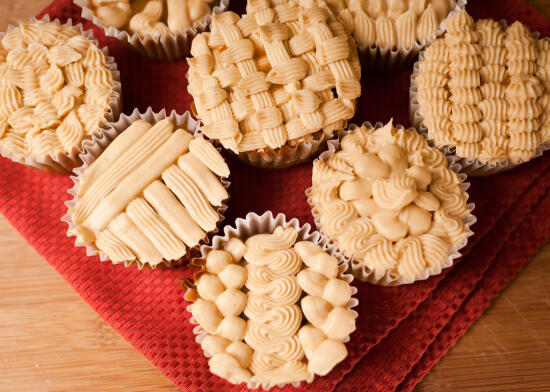
Decadent butterscotch sauce…
My sister, on the other hand, is still a huge Harry Potter fan. So when she and her girlfriend (also a huge Harry Potter fan) came home for a few days before the school year started, I pulled this recipe out of my long list of bookmarked recipes (I’d been saving it up for them).
I’m not sure exactly what I had been expecting, but holy cow these are good. Sweet, but not too sweet, as some butterscotch-flavored desserts can be. Moist, especially after I accidentally poured in an entire cup of buttermilk instead of just half a cup. And ohmygod that buttercream frosting… in the past I hadn’t been much of a fan of the buttercream frostings I’ve made, but I’m a believer now.
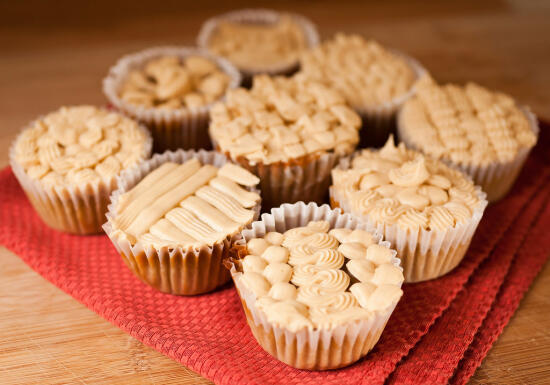
And the best butterscotch buttercream frosting ever.
Slightly altered from The Pastry Affair’s Butterbeer Cupcakes, which were adapted from the Butterbeer Cupcakes on Amy Bites.
Brown Sugar Cupcake
- 2 cups flour
- 1 1/2 tsp baking powder
- 1/2 tsp baking soda
- Pinch of salt
- 1/2 cup (1 stick) unsalted butter, softened
- 1 cup dark brown sugar, packed
- 3 large eggs
- 2 tsp vanilla extract
- 1 tsp butter flavoring
- 1 cup buttermilk
- 1/2 cup cream soda
- Preheat oven to 350° F. Line a cupcake pan with cupcake liners.
- Whisk together the flour, baking powder, baking soda, and salt. Set aside.
- Cream the butter and brown sugar until light and fluffy. Add the eggs one at a time, beating well after each one. Add the vanilla extract and butter flavoring.
- Fold in one third of the flour mixture, then the buttermilk, then another third of the flour mixture, then the cream soda, and then the remaining flour.
- Fill cupcake liners 3/4 of the way full and bake for 15-18 minutes, or until the cupcakes are golden-brown and a toothpick inserted into the center of the cupcake comes out clean. Cool completely before frosting.
Butterscotch Ganache
- 11 oz (1 package) butterscotch chips
- 1 cup heavy cream
- In a small saucepan over medium heat, melt the butterscotch chips into the heavy cream, stirring until smooth. (Or heat in the microwave in 30-second increments, stirring in between.) Remove from heat and cool to room temperature before using.
Butterscotch Buttercream
- 6 tbsp unsalted butter, softened
- 1/4 cup butterscotch ganache (recipe above)
- 1 tsp vanilla
- 1 tsp butter flavoring
- Pinch of salt
- 3 cups powdered sugar
- Cream the butter until light and fluffy. Mix in the butterscotch ganache, vanilla, butter flavoring, and salt. Beat in the powdered sugar for 2-3 minutes.
To Assemble:
- Pour the butterscotch ganache into a plastic squeeze bottle. Push the tip of the bottle into the cupcake and fill each cupcake with butterscotch ganache until it starts to overflow. (I made 3-4 holes in each cupcake.)
- Fill a pastry bag with the buttercream and pipe onto the top of each cupcake. Drizzle with more butterscotch ganache, if desired. (You will most likely have left-over butterscotch ganache – this can be used as a topping for ice cream, or it’s an excellent excuse to make another batch of these cupcakes.)
- Store in an airtight container at room temperature.
- Enjoy!
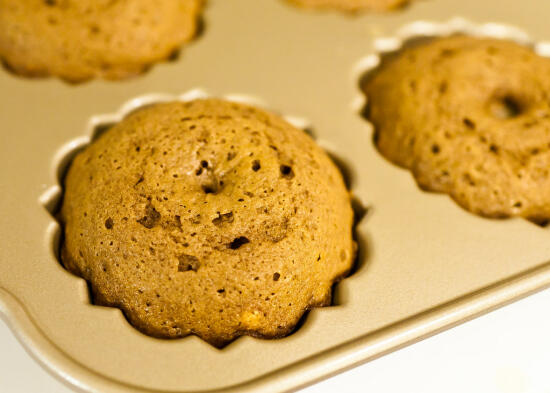
Mini bundt cakes in the pan
Coffee.
Coffeecoffeecoffee.
Cooooofffffeeeeeeee…
I have a weird sort of relationship with coffee. I like coffee. I really do. Except I can never make it to my liking at home.
Office coffee? Yes, please. Hotel coffee? Sure, why not? Starbucks? Mmmm, yes.
The coffee I make at home? Bleh. Gross. Fail. I’ve tried using a regular coffee maker, I’ve tried instant (ew), I’ve tried using a French press… *sigh*. I have no talent for coffee making.
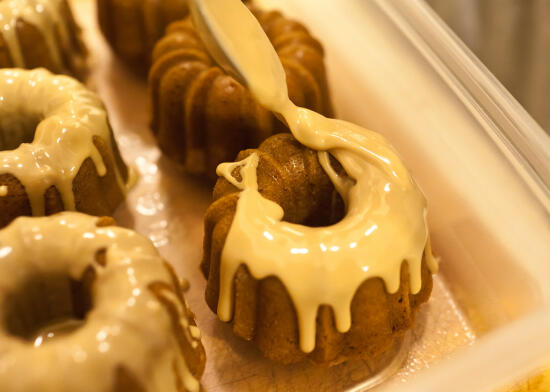
Pouring the frosting over the bundt cakes
Luckily my inability to make good coffee at home has no bearing whatsoever on whether I’m able to make good coffee-flavored baked goods. Thank goodness.
I first tried these mini espresso bundt cakes when I bought one that The Food Librarian made for the Food Blogger Bake Sale earlier this year. I couldn’t stop raving about them, so when Mary replied to me with a link to the recipe she used, there was no doubt I’d be making them soon.
My little sister, who’s almost as much of a coffee-lover as I am (who am I kidding, she’s way much more coffee-crazy than me) graduated from college this year. So, like the loving sister I am, I baked her a box full of delicious things as her graduation present. This box included some delicious Churro Cookies, some ridiculously simple but so freaking good Peanut Butter Bacon Cookies, and, of course, these mini espresso bundt cakes.
They were a total hit, of course.
To be honest, I’m craving them right now… espresso bundt cake is an acceptable replacement for morning coffee, right?
Don’t judge. Just make them. You’ll see…
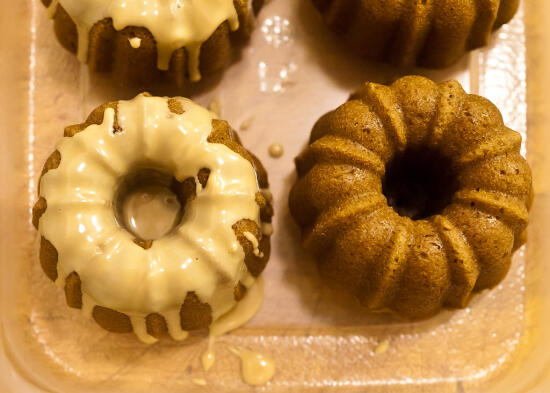
Mini espresso bundt cakes
Visit The Food Librarian for the recipe!


