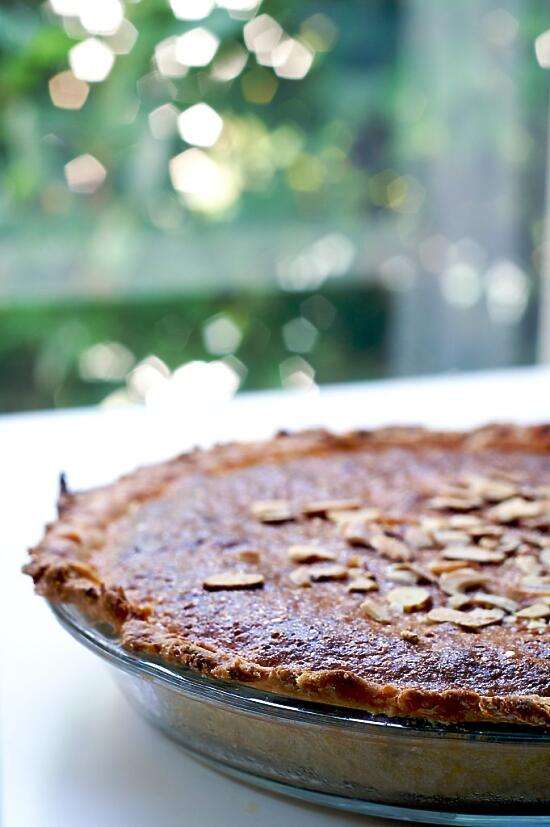
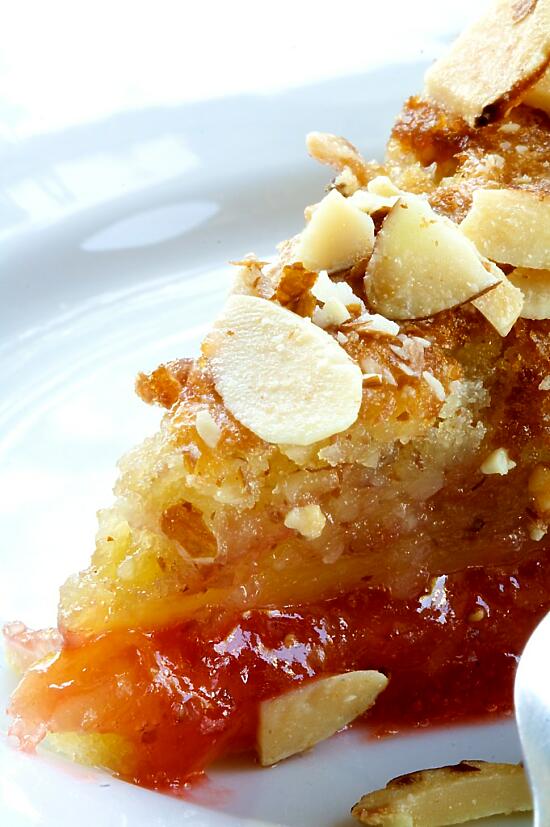
Bakewell Tart
The June Daring Bakers’ challenge was hosted by Jasmine of Confessions of a Cardamom Addict and Annemarie of Ambrosia and Nectar. They chose a Traditional (UK) Bakewell Tart… er… pudding that was inspired by a rich baking history dating back to the 1800’s in England.
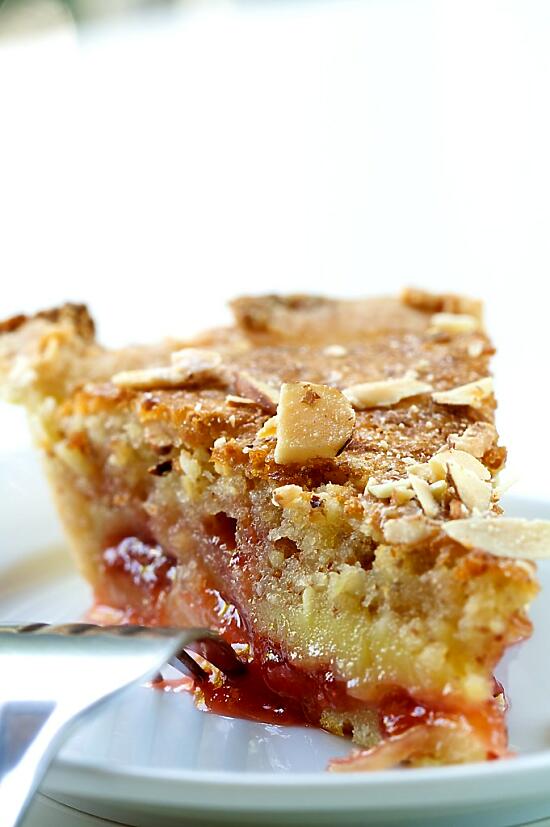
… with strawberry jam.
As far as Daring Bakers challenges go, this wasn’t so much one of my favorites. It didn’t seem like much of a challenge to me (the hardest thing was grinding the almonds by hand, which is why my frangipane probably ended up a little crunchier than it should have been). And the tart itself… it wasn’t bad, per say, but I wouldn’t make it again. All of us who tried it enjoyed it well enough, but just found it sort of… meh. Nothing special. If it had stayed at home, it probably wouldn’t have been eaten up. Of course, with something like the Daring Bakers challenges you can’t expect to love every single one of them… it’s too bad this Bakewell Tart was one of those that I just couldn’t fall in love with.
Son ate it so quickly, I barely got a bite!
Ingredients
Sweet shortcrust pastry:
- 225 g all-purpose flour
- 30 g sugar
- 1/2 tsp salt
- 4 oz unsalted butter, cold (frozen is better)
- 2 egg yolks
- 1/2 tsp almond extract
- 1-2 tbsp cold water
Frangipane
- 4.5 oz unsalted butter, softened
- 125 g powdered sugar
- 3 eggs
- 1/2 tsp almond extract
- 125 g ground almonds
- 30 g all-purpose flour
Finishing the tart:
- 1 cup jam or curd, warmed for spreadability
- One handful blanched, flaked almonds
Cooking Directions
- Sift together flour, sugar and salt.
- Grate butter into the flour mixture, using the large hole-side of a box grater.
- Using your finger tips only, and working very quickly, rub the fat into the flour until the mixture resembles bread crumbs. Set aside.
- Lightly beat the egg yolks with the almond extract and quickly mix into the flour mixture.
- Keep mixing while dribbling in the water, only adding enough to form a cohesive and slightly sticky dough.
- Form the dough into a disc, wrap in cling and refrigerate for at least 30 minutes
- Cream butter and sugar together for about a minute or until the mixture is primrose in colour and very fluffy.
- Scrape down the side of the bowl and add the eggs, one at a time, beating well after each addition. The batter may appear to curdle, but that’s okay.
- After all three eggs are mixed in, pour in the almond extract and mix for about another 30 seconds then scrape down the sides again.
- With the beaters on, spoon in the ground nuts and the flour. Mix well. The mixture will be soft, keep its slightly curdled look (mostly from the almonds) and retain its pallid yellow colour.
- Place the chilled dough disc on a lightly floured surface. If it’s overly cold, you will need to let it become acclimatised for about 15 minutes before you roll it out.
- Flour the rolling pin and roll the pastry to 1/4″ thickness, by rolling in one direction only (start from the center and roll away from you), and turning the disc a quarter turn after each roll.
- When the pastry is to the desired size and thickness, transfer it to a 9″ pie pan, press in and trim the excess dough. Patch any holes, fissures or tears with trimmed bits.
- Chill in the freezer for 15 minutes.
- Preheat oven to 400°F.
- Remove shell from freezer, spread as even a layer as you can of jam onto the pastry base.
- Top with frangipane, spreading to cover the entire surface of the tart.
- Smooth the top and bake for 30 minutes.
- Five minutes before the tart is done, the top will be poofy and brownish. Remove from oven and strew flaked almonds on top and return to the heat for the last five minutes of baking.
- The finished tart will have a golden crust and the frangipane will be tanned, poofy and a bit spongy-looking.
- Remove from the oven and cool on the counter.
- Serve warm, with crème fraîche, whipped cream or custard sauce if you wish.
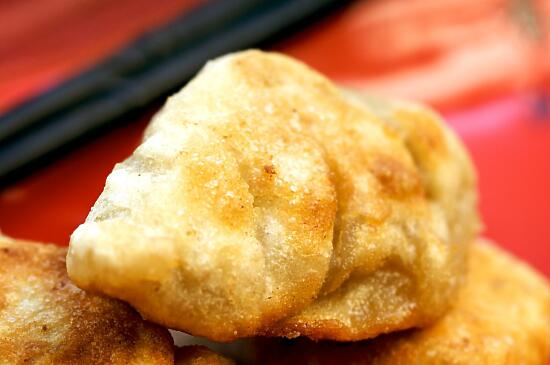
Chinese Shrimp and Pork Potstickers
This month’s Daring Cooks challenge is Chinese potstickers/dumplings from Jen Yu of Use Real Butter.
As any good Asian household, Son and I love most any sort of dumplings. Often we’ll eat them with ramen or rice, for a delicious meal. But aside from my grandmother’s wontons (which are nothing like Chinese wontons… and yes, I know those of you who have tried them want the recipe. I’ll make them soon, promise.), I’ve never made any sort of dumplings from scratch.
So this challenge was definitely a welcome challenge for me. I never would have made dumplings completely from scratch like this (we all know how easily intimidated I am by scary-looking recipes), so I appreciated the push from Daring Cooks to try this.
Holy cow these are good. I used Jen’s shrimp and pork filling recipe, and pan-fried them so they were potstickers. (For other filling recipes and instructions for boiling or steaming them, visit Jen’s blog.) Okay, so maybe mine weren’t nearly as pretty as hers are, but the way I see it, they’re like sushi – even if they’re falling apart and look terrible, they still taste pretty darn fantastic. They’re so good, and worth the extra work, I already have plans to make them again.
I made a double batch, and froze half. Put them on a baking sheet covered in parchment paper (make sure they’re not touching) and freeze them. Then fry them like normal, just a little longer than you would if they were fresh. A word to the wise – make sure the potstickers are completely frozen before transferring them to a ziplock bag – otherwise they’ll stick together and you won’t be able to get some of them unstuck without tearing them, even if you throw the bag against the counter several times. Then you’ll just end up frying them as is, and have big lumps of potstickers instead of pretty little nicely formed ones. Not that I’m speaking from experience, or anything.
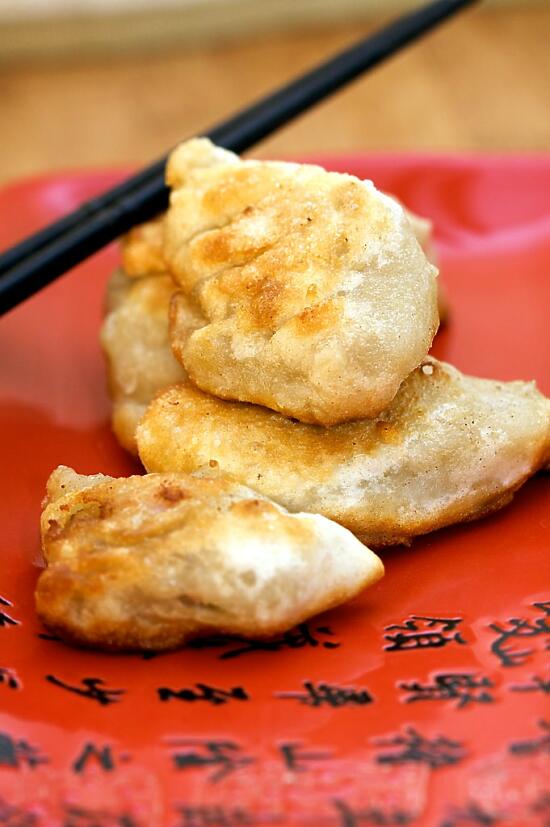
Crispy, delicious, perfect.
Ingredients
Dough:
- 4 c all-purpose flour
- 1 c warm water
- flour for work surface
Filling:
- 1/2 lb raw shrimp, peeled, deveined, and coarsely chopped
- 1/2 lb ground pork
- 3 stalks green onion, minced
- 1/4 c ginger root, minced
- 1 tsp salt
- 3 tbsp sesame oil
- 2 tbsp corn starch
Dipping Sauce:
- 2 parts soy sauce
- 1 part vinegar (red wine or black)
- a few drops of sesame oil
- chili garlic paste (optional)
- minced ginger (optional)
- minced garlic (optional)
- minced green onion (optional)
- sugar (optional)
Cooking Directions
- In a large bowl mix the flour with 1/2 of the water and stir until water is absorbed.
- Continue adding water one teaspoon at a time and mixing thoroughly until dough pulls away from sides of bowl. We want a firm dough that is barely sticky to the touch. If the dough is too hard or dry, feel free to add a little more water.
- Knead the dough about twenty strokes then cover with a damp towel for 15 minutes.
- Take the dough and form a flattened dome.
- Cut into strips about 1 1/2 to 2 inches wide.
- Shape the strips into rounded long cylinders.
- On a floured surface, cut the strips into 3/4 inch pieces.
- Press palm down on each piece to form a flat circle (you can shape the corners in with your fingers).
- With a rolling pin, roll out a circular wrapper from each flat disc. Take care not to roll out too thin or the dumplings will break during cooking – about 1/16th inch. Leave the centers slightly thicker than the edges.
- Place a tablespoon of filling in the center of each wrapper and fold the dough in half, pleating the edges along one side (see images in this post for how to fold pleats). Keep all unused dough under damp cloth.
- Repeat until you have used up the dough and filling.
- Place dumplings in a frying pan with 2-3 tbsp of vegetable oil.
- Heat on high and fry for a few minutes until bottoms are golden.
- Add 1/2 cup water and cover. Cook until the water has boiled away and then uncover and reduce heat to medium or medium low.
- Let the dumplings cook for another 2 minutes then remove from heat and serve.
- Mix the ingredients for the dipping sauce, and serve with the warm potstickers.
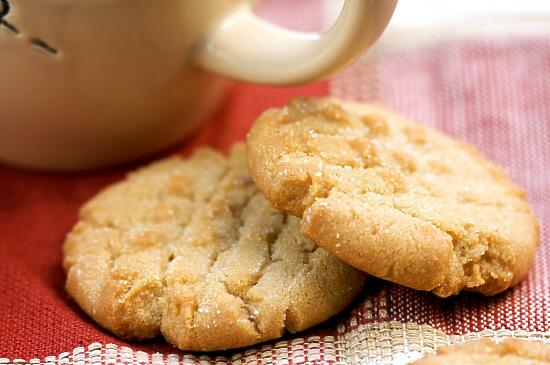
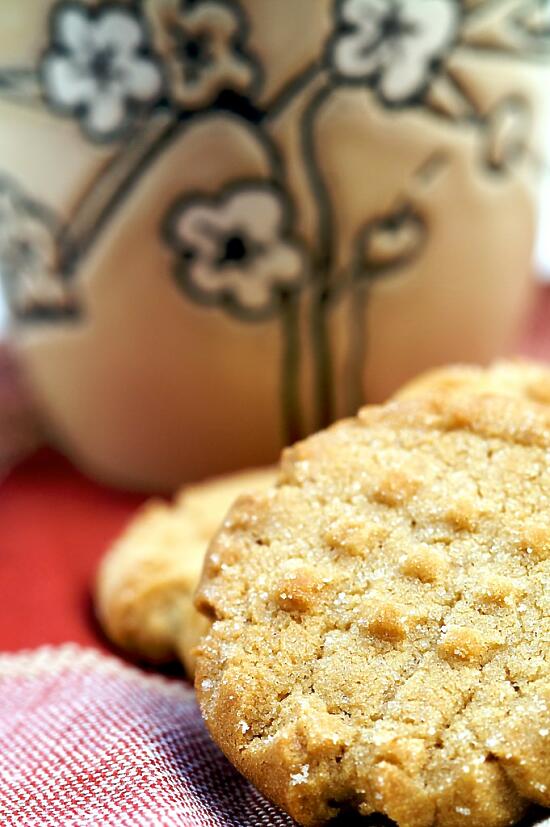
My very favorite peanut butter cookies
Everyone has a favorite cookie. Some would die for a chocolate chip cookie, others prefer a good oatmeal-raisin. Some people prefer a specific store-bought cookie, others will eat nothing but homemade. Some like their cookies thin and crispy, with nothing more than a glass of cold milk. Others love them deep dish-style, with a big scoop of ice cream and maybe even with some sauteed apples.
My all-time favorite cookies are peanut butter cookies. And not just any peanut butter cookies – it has to be these. They’re crispy, crumbly, not cloyingly sweet, but with a great peanut butter taste and an irresistible addictiveness. And I’m not the only one who feels this way – several people who have tried these have told me that they’re the best peanut butter cookies they’ve ever had. Like I said, they’re very, very good.
Ingredients
- 2 1/2 cups unsifted flour
- 1 tsp baking powder
- 1 tsp baking soda
- 1/4 tsp salt
- 1/2 cup butter
- 1/2 cup shortening
- 1 cup sugar
- 1 cup firmly packed brown sugar
- 2 eggs
- 1 tsp vanilla
- 1 cup Skippy Creamy Peanut Butter
Cooking Directions
- Sift first 4 ingredients together, then set aside.
- In large bowl with mixer at medium speed, beat butter, shortening and peanut butter until smooth.
- Beat in sugars until blended, then eggs and vanilla.
- Add flour mixture; beat until well blended.
Chill dough for at least an hour, overnight if possible.
- Preheat the oven to 350° F.
- Shape the dough into 1″ balls. Place 2 inches apart on ungreased cookie sheets.
- Flatten with a fork dipped in sugar.
- Bake for 12 minutes or until lightly browned. Remove from cookie sheets. Cool on rack.
- Makes 6 dozen cookies.