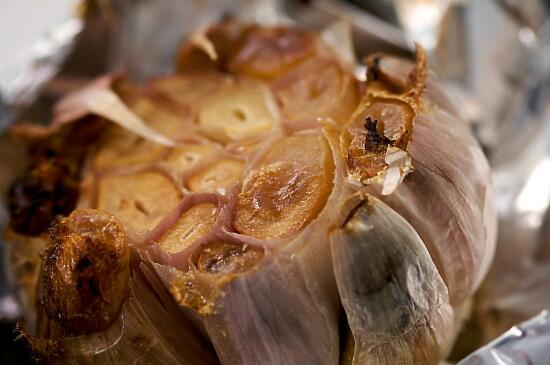
A whole head of freshly roasted garlic… NOM.
As many of you know, cancer has unfortunately touched my life quite a few times. My dad had prostate cancer a few years ago, and my brother has just gotten past the section of intense treatment in his second battle with leukemia. It’s a difficult thing for any family to deal with – seeing your younger brother, or father, or any other family member looking so frail and in pain. Cancer isn’t something I would wish upon anyone.
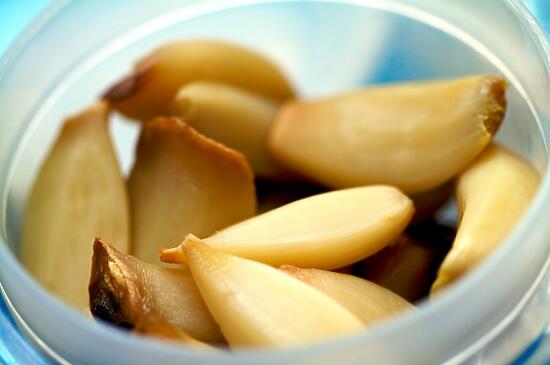
Cloves of roasted garlic, extracted from the head.
Which is why when I heard about the Cooking to Combat Cancer event, I knew I had to participate. All you have to do to participate is cook something that uses an ingredient (or several) that is known to help prevent cancer. I glanced through the lists of foods known to help prevent cancer, and found one that I knew I had to use – garlic.
Between Son and myself, a lot of garlic gets eaten in this household. Given free reign Son would eat it raw at times, but I prefer a more subtle approach to my garlic consumption. Roasted garlic is something we both can agree on, anytime. It doesn’t have the unpleasant bite that raw garlic has, but instead has a gentler, somewhat caramelized, almost sweet taste that even I can find enjoyable raw. As for Son… when I mentioned I was going to make some roasted garlic, his ears perked up.
“How many should I make?”
“Ten!” He sounded like a little boy in a candy shop.
“Be reasonable… do you think four heads is enough?”
“I guess…”
I couldn’t help but laugh at him. “Don’t worry, I can always make more when you’re done with this batch!”
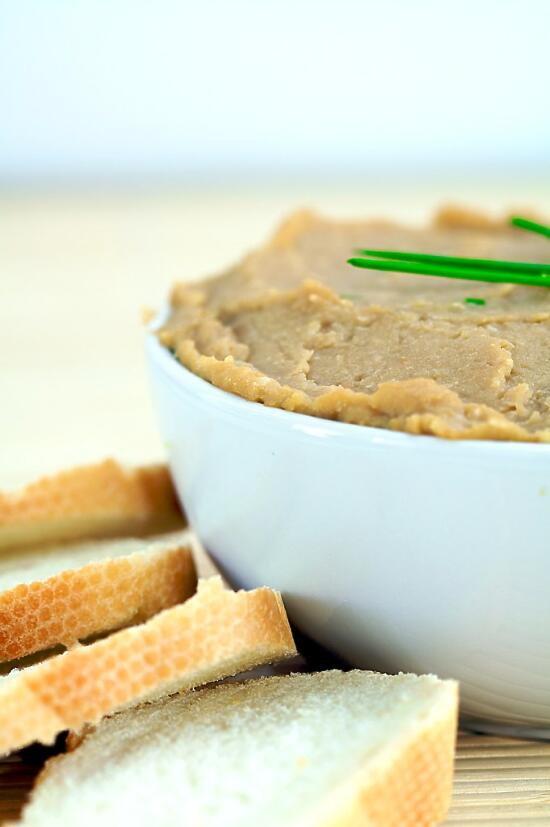
Roasted Garlic Hummus… looks so delicious, right?
And what did we do with the roasted garlic? Some got eaten by itself, of course. One head got made into some roasted garlic hummus which, while the pictures of it turned out beautifully, I’m ashamed to say the hummus tasted terrible. So no, you’re not getting the recipe for that. *sigh* And we had such high hopes for our own homemade hummus…
The rest of the roasted garlic has gone onto pizza. Because ohmygod roasted garlic on pizza? Amazing. With bacon, and pepperoni, mozzarella, red onion, and of course pizza sauce… not on a pizza crust, but on a regular flour tortilla that crisps up just right like thin crust pizza, only better. I’m not ashamed to admit that this has been lunch or dinner more than a couple of times in the past weeks. Really. You should try it.
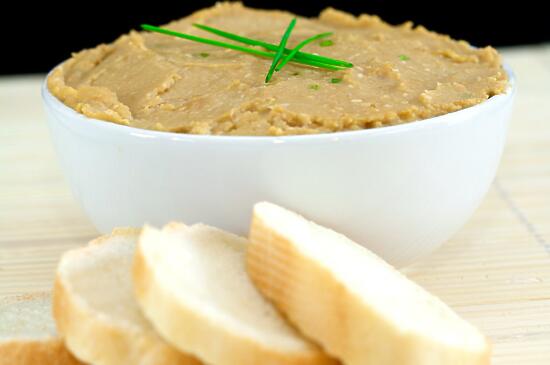
Sadly, not so much. Epic FAIL.
Ingredients
- 1 head of garlic
- olive oil
Cooking Directions
- Preheat the oven to 425°F.
- Remove the loose papery outside skin of the garlic head, but keep the cloves together.
- Slice off the top 1/2 inch of the head of garlic and discard. (If you’re like me, you can save the discarded garlic bits in the refrigerator for another use.)
- Wrap the head of garlic in a small square of foil and drizzle with olive oil.
- Roast the head of garlic in the oven until the garlic is very soft, about 40 minutes.
- Unwrap and cool. Enjoy!
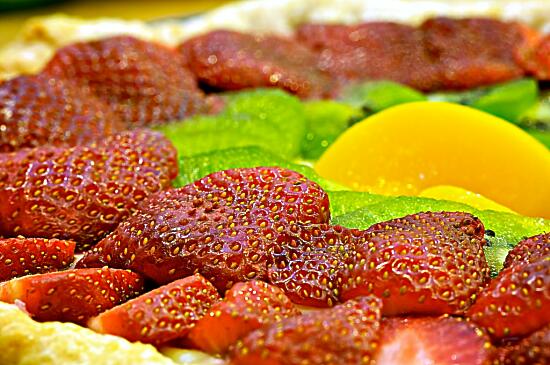
Vietnamese-Style Fruit Tart
This isn’t exactly a new recipe – it’s essentially this banana cream pie, except with slices of mango on the bottom instead of bananas, and topped with strawberries, kiwi fruit, and peaches. But it turned out so wonderfully well, I just had to share it with you.
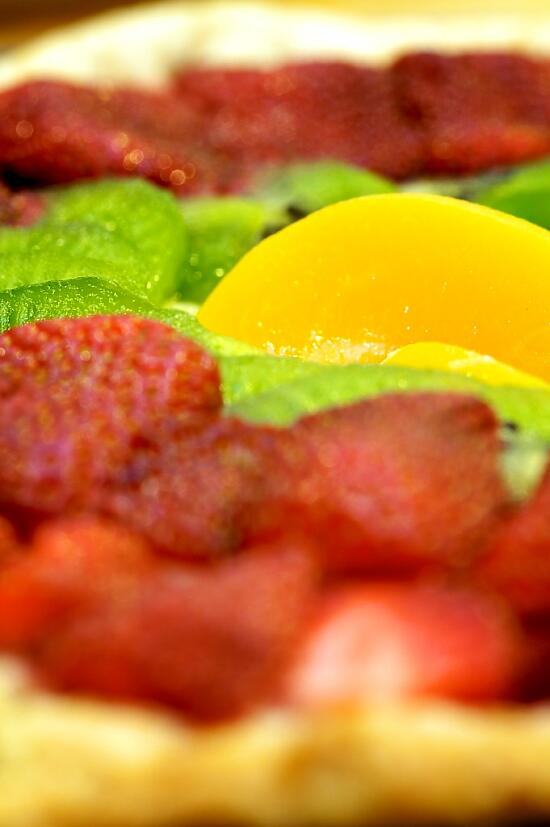
…with mango, kiwi, strawberries, and peaches.
In Son’s family, and in many Vietnamese (and other Asian?) families, this type of fruit tart is traditionally eaten at all sorts of celebrations. I made this one for his mom’s birthday. The verdict? Even better than the ones they used to buy from the bakeries in Little Saigon. Success!
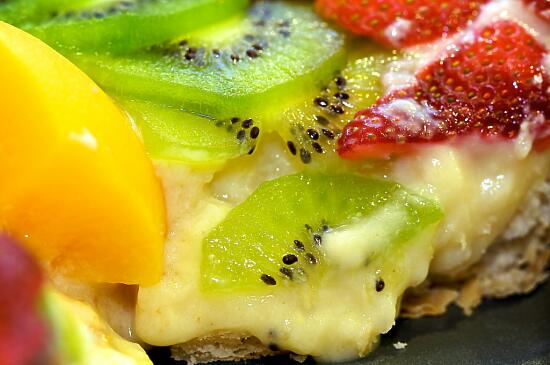
Everyone loved it!
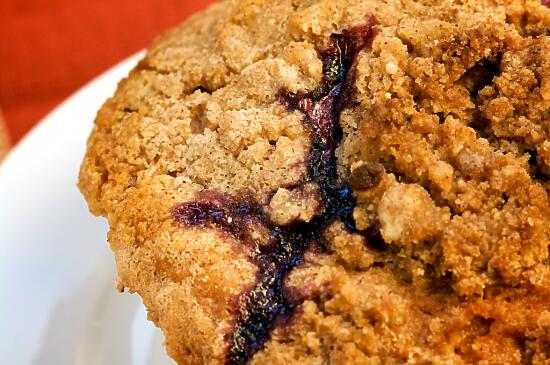
Blueberry Muffins
Everyone has a different idea of what comfort food is. For Son, comfort food is a nice hot bowl of phở or bún tôm thịt nướng (grilled shrimp and pork with vermicelli noodles and vegetables). For me, comfort food tends more towards chocolate peanut butter ice cream, or most potato dishes, or a steaming mug of hot chocolate. But blueberry muffins?
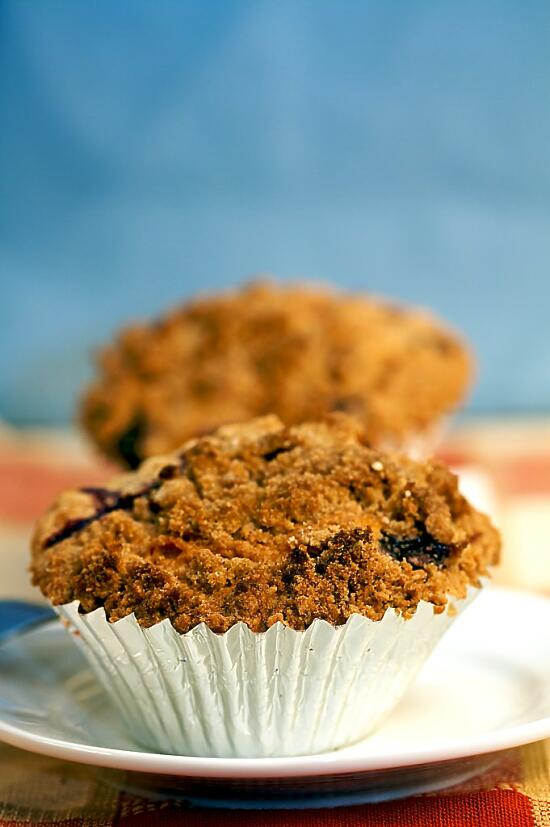
Made with fresh blueberries, of course
When I think comfort food, blueberry muffins are not something that comes to mind. But when I took a bite of one of these blueberry muffins, fresh from the oven with a pat of butter, I was young again. Sunday morning “special” breakfast with my family, blueberry muffins from a box mix… except so much better. Even though I did everything I possibly could to mess these up (not on purpose, of course)… ran out of regular white sugar so I also used brown sugar in the muffins, then ran out of brown sugar so I had to use powdered sugar in the streusel… had to use a little pastry flour because I ran out of regular flour… yes, I’m a bad food blogger, I know. This is what happens when I bake on a whim. But they turned out just fine! So all is well.
(Although… I would actually leave off the streusel next time I baked these. It was way too sweet for my tastes… but that could have been because I used powdered sugar instead of granulated. Oops.)
This recipe was adapted from To Die For Blueberry Muffins, from AllRecipes.com.
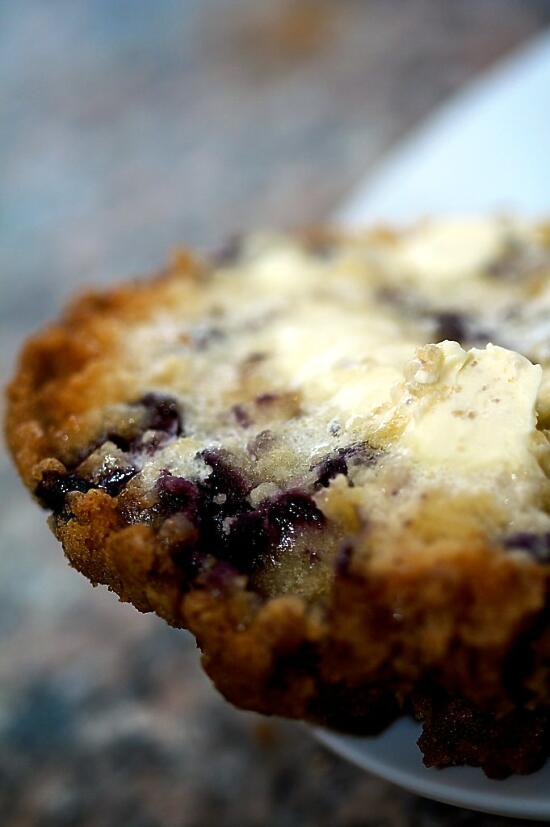
Hot from the oven. Yum.
Ingredients
- 1 1/2 c all-purpose flour
- 3/4 c white sugar
- 1/2 tsp salt
- 2 tsp baking powder
- 1/3 c vegetable oil
- 1 egg
- 1/3 c milk
- 1 c fresh blueberries
- 1/2 c white sugar
- 1/3 c all-purpose flour
- 1/4 c butter, cubed
- 1 1/2 tsp ground cinnamon
Cooking Directions
- Preheat oven to 400° F (200° C).
- Grease muffin cups or line the muffin cups with muffin liners.
- Combine the 1 1/2 cups flour, 3/4 cup sugar, salt and baking powder.
- Place vegetable oil into a 1 cup measuring cup; add the egg and enough milk to fill the cup. Mix this with the flour mixture.
- Fold in the blueberries.
- Fill muffin cups right to the top.
- Mix together the 1/2 cup sugar, 1/3 cup flour, 1/4 cup butter, and 1 1/2 teaspoons cinnamon.
- Sprinkle the crumb topping over the muffins before baking.
- Bake for 20 to 25 minutes in the preheated oven, or until done.

Candied Citrus Peels
Every now and then, my sister sends me a link to a recipe that she thinks I should try. A couple of months ago, she sent me a link to a candied citrus peel recipe. Her birthday was coming up, so I figured heck, why not make them for her? They seemed easy enough, and nearly everyone in my family loves sweet, citrusy foods.
It can be a little tedious slicing all the peels into nice, neat thin slices, and scraping the pith off of them, but it’s very much worth it when you get to try the final result. You really don’t have to roll the finished citrus peels in much sugar at all, otherwise they’ll become almost too sweet. Although I didn’t do so, these would be great dipped in some melted dark or semisweet chocolate.

Sweet, citrusy, yum…
Ingredients
- 2 grapefruits, 3 oranges, or 4 lemons
- 4 cups sugar, plus more for rolling
- 4 cups water
Cooking Directions
- Using a paring knife, make 6 slits along curve from top to bottom of each citrus fruit, cutting through peel but not into fruit.
- Using your fingers, gently remove peel. Reserve fruit for another use.
- Slice each piece of peel lengthwise into 1/4-inch-wide strips.
- Using a paring knife, remove excess pith from each strip and discard.
- Place strips in a large saucepan, and cover with cold water. Bring to a boil, then drain. Repeat at least twice.
- Bring sugar and water to a boil, stirring occasionally until sugar dissolves. Stop stirring. Wash sides of pan with a wet pastry brush to prevent sugar crystals from forming.
- Add strips to boiling syrup, reduce heat to medium-low, and simmer gently until strips are translucent, about 1 hour. Remove from heat, and let strips cool in syrup. (Strips in syrup will keep, covered and refrigerated, for up to 3 weeks.)
- Using a slotted spoon, transfer strips to a wire rack placed on a rimmed baking sheet.
- Wipe off excess syrup with paper towels, then roll strips in sugar.
- Arrange in a single layer on a wire rack, and let dry for at least 30 minutes.
- Sugared peels will keep, covered at room temperature, for up to 2 weeks.
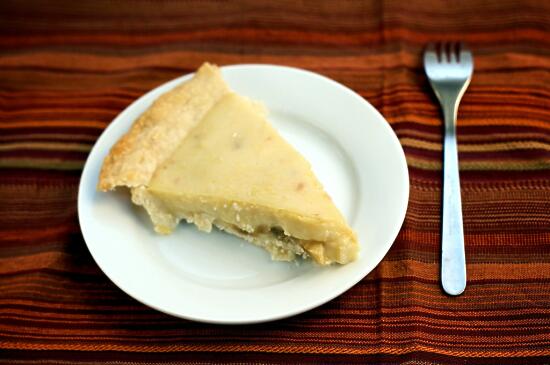
Banana Cream Pie
Pies used to be the bane of my existence. A year ago, I couldn’t make a proper pie to save my life. My apple pies looked like turkeys, and my lemon meringues never set. But suddenly, that has all changed.
The pie revolution started with this Thanksgiving pie, which was a hit with both Son’s family and mine. And now… well… I’ve gained so much pie-making confidence, that I have no problem baking up a pie on a whim!
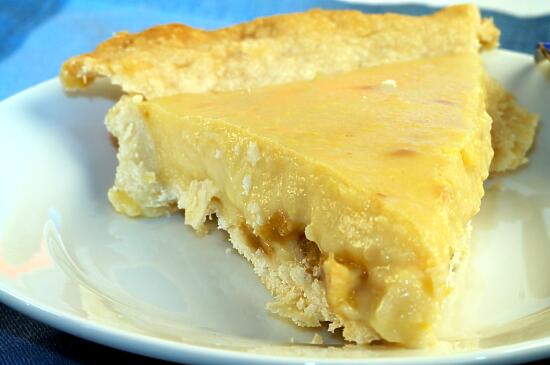
… for Pi Day, of course!
That’s exactly what happened with this banana cream pie. I realized yesterday that today is Pi Day, and suddenly got a craving for banana cream pie. Never mind that I only had one banana (the recipe calls for four) and that it was already late in the day – I was going to have my pie.
And damn, was it good.
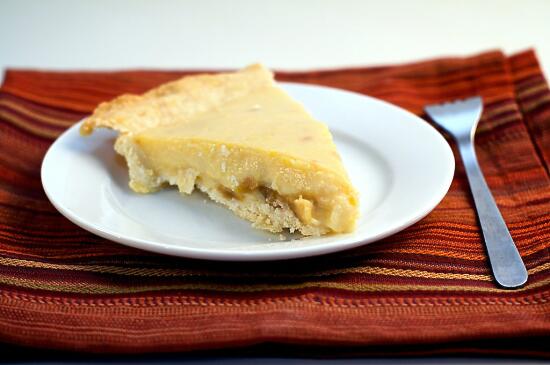
(We’ve already eaten half the pie. It’s that good.)
Banana Cream Pie adapted from allrecipes.com.
Ingredients
- 3/4 cup white sugar
- 1/3 cup all-purpose flour
- 1/4 teaspoon salt
- 2 cups milk
- 3 egg yolks, beaten
- 2 tablespoons butter
- 1 1/4 teaspoons vanilla extract
- 1 (9 inch) pie crust, baked
- 4 bananas, sliced
Cooking Directions
- Bake the pie crust.
- In a saucepan, combine the sugar, flour, and salt. Add milk in gradually while stirring gently.
- Cook over medium heat, stirring constantly, until the mixture is bubbly. Keep stirring and cook for about 2 more minutes, and then remove from the burner.
- Stir a small quantity of the hot mixture into the beaten egg yolks, and immediately add egg yolk mixture to the rest of the hot mixture.
- Cook for 2 more minutes; remember to keep stirring.
- Remove the mixture from the stove, and add butter and vanilla.
- Stir until the whole thing has a smooth consistency.
- Slice bananas into the cooled baked pastry shell. Top with pudding mixture.
- Chill the pie for at least three hours, or until the pudding has set.


