Archive for April, 2009
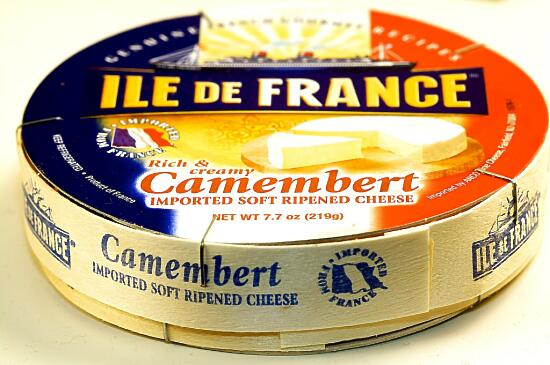
Ile de France Camembert Cheese
I love cheese. My lactose intolerant, high cholesterol body hates me because of this. But my love of cheese and all things dairy can’t be ignored so I take Lactaid, excercise a little more… anything so I can have all the cheese (and other bad-for-me things) that I want.
But despite my love of cheese, I haven’t actually tried that many cheeses. Growing up, we were a very basic family when it came to our culinary preferences. So of course we’ve had basic cheddar, mozzarella, parmesan… but none of this “exotic” camembert cheese.
So, though I was a little nervous I might not like it (a silly fear indeed), I jumped at the opportunity to try an Ile de France camembert cheese for free.
Between 2 slices of bread smothered with jam…
This delicious cheese is buttery, mild, and ever so delicious. I love it. I would have eaten the entire disk of cheese just with bread, if I could have. But we were given the challenge of making a recipe using the cheese, so I had to put my creative skills (or lack thereof) to work.
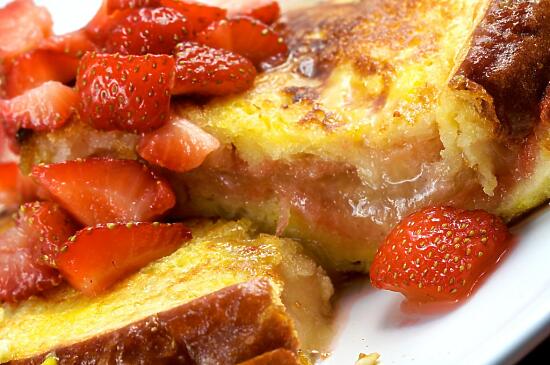
The first thing that came to mind was sushi. Because, well, you know me. I’m the sushi girl. But I couldn’t come up with a good sushi recipe, and I’ve been so crazy busy with rehearsals that I just didn’t have the time to pull that off. But then I thought… grilled cheese… french toast… OOOHHH… and that’s how I ended up with this.
So how did it turn out? Very delicious. I would make it again… it would make a fantastic brunch dish.
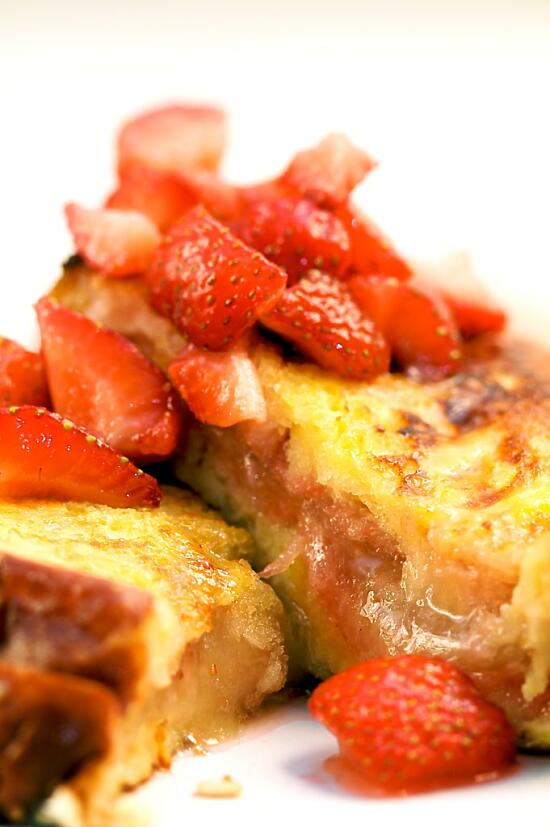
…makes an excellent French toast.
Ingredients
- 8 slices of bread (I used Hawaiian Bread)
- 4 tbsp strawberry jam
- 7.7 oz (1 package) camembert cheese
- 6 large eggs
- 1/2 cup milk
- 1 tbsp vanilla extract
- 2 tbsp butter
Cooking Directions
- Spread one side of each piece of bread with strawberry jam.
- Layer slices of camembert cheese on top of the jam on four of the slices of bread, then cover with the other four slices of bread to make four sandwiches, jam side in.
- Whisk the eggs, milk, and vanilla together.
- Dip the camembert sandwiches in the egg mixture, making sure to coat both sides.
- Melt 1 tbsp of butter in a frying pan, then place two of the sandwiches in the frying pan.
- Let cook until the bottom has browned, then flip and cook the other side.
- Remove to a plate and cover with a clean towel to keep warm.
- Melt the other 1 tbsp of butter in the pan, then repeat with the other two sandwiches.
- Top with maple syrup or chopped strawberries mixed with sugar.
- Enjoy!
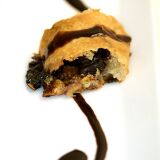
Chocolate-Orange Cheesecake…
The April 2009 challenge is hosted by Jenny from Jenny Bakes. She has chosen Abbey’s Infamous Cheesecake as the challenge.
For many months I have watched the Daring Bakers from afar, as they tackled baking challenge after baking challenge. At first my feelings were of curiosity – what is this super secret baking group, and how do they manage these amazing challenges every month? Then, insecurity – man, I would love to be a part of the Daring Bakers, but… but… just look at those crazy challenges they complete every month! I could never ever be a good enough baker to keep up with them! Finally, these feelings became those of hope – what’s the worst that could happen? Well, I suppose I could end up with something completely inedible if I completely screw it up, but in the months since I first saw the Daring Bakers challenges around the food blogosphere, I’ve become much more confident in my baking skills. So… heck, why not? I decided to take the leap.
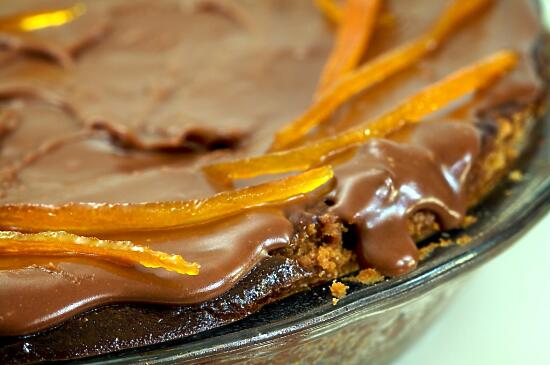
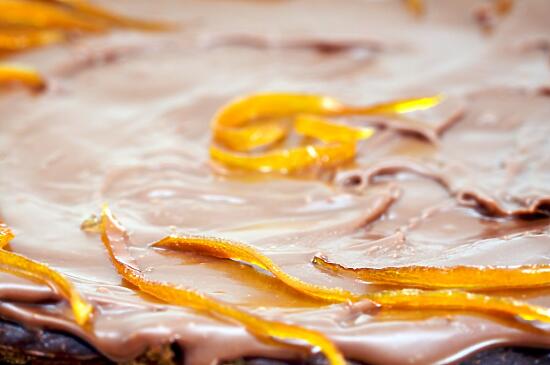
…with chocolate ganache and candied orange peels.
I have to admit, when I saw the challenge was cheesecake I was a wee bit disappointed. Heck, I wanted a challenge. Cheesecake? Been there, done that, and I already have a tried and true recipe that I love dearly. But this cheesecake ended up being more of a challenge than I could have imagined.
You see, my friends, I am not a creative person. Logic is my best friend, but creativity? Ergh, not so much. You give me a blank slate and infinite options for how to fill it, and I freeze. So given a basic cheesecake recipe and being told to make it my own, using whatever flavors or garnishes I wanted… I was like a deer in the headlights of a monster truck.
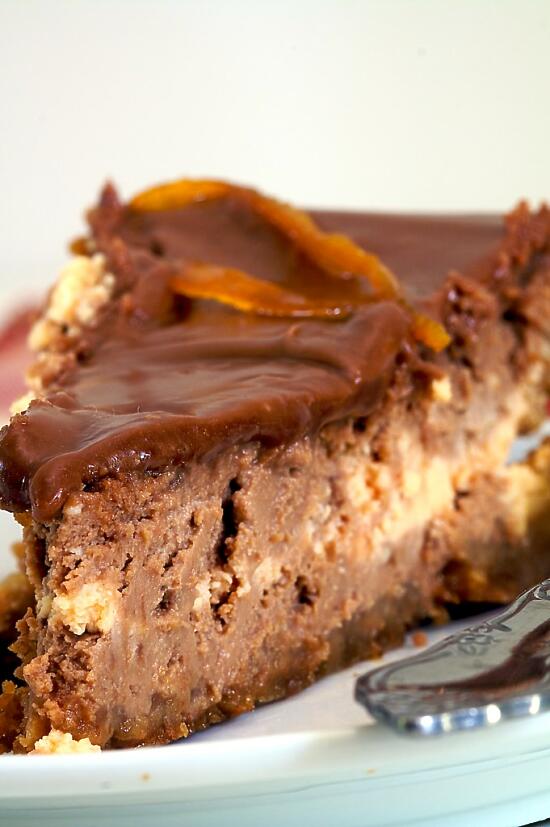
You can see the different layers…
So how did I remedy this problem? I asked mom, of course. Her birthday is in April, and she likes cheesecake, so I figured I’d make her choose the cheesecake flavorings that she wanted. She picked citrus, and it’s common knowledge that my mom loves anything chocolate, so it was the next logical step to think of making a chocolate- and orange-flavored cheesecake. Combine that with a chocolate ganache that is a regular in my family, and some candied orange peels that I recently posted about on Fridgg… and we’ve got a cheesecake. And a damned good one, at that.
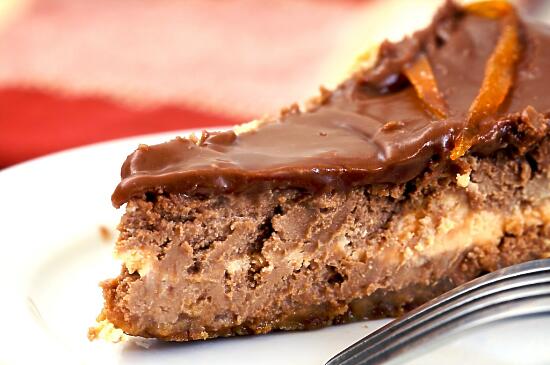
… of chocolate- and orange-flavored cheesecake.
Of course, I made quite a few changes to the recipe to accommodate my preferences. I have an irrational but deep-seated hatred of water baths, so that was out of the question. (Not to mention, I don’t have a casserole dish that could fit my cake or pie pans, so… not going to happen.) Since my all-time favorite cheesecake recipe is made in a pie plate, it was natural for me to want to use a pie plate for this as well and press the graham cracker crust all the way up the sides. Of course, a 9″ pie plate has a smaller volume than a 9″ springform pan, and since I added a whole bar of chocolate and an orange-worth of juice into the batter… I had way too much batter for one cheesecake. So I made another, flatter one, in a 9″ cake pan. (You’ll have to make an extra batch of crust and an extra batch of the chocolate ganache if you want to do this.) This actually worked out excellently in my case, because I brought the cheesecakes to my family’s Easter celebration and several of us are either lactose intolerant or pre-diabetic or both – so the thinner cheesecake was actually pretty popular.
Everyone loved the cheesecake, but it was very, very rich. If you like those little chocolate oranges (that you smash against the ground to break apart!) and like decadent cheesecakes, then you would love this. As for me, I still prefer my grandmother’s lighter cheesecake recipe, but it was nice to have a change from my usual cheesecake routine, just this once.
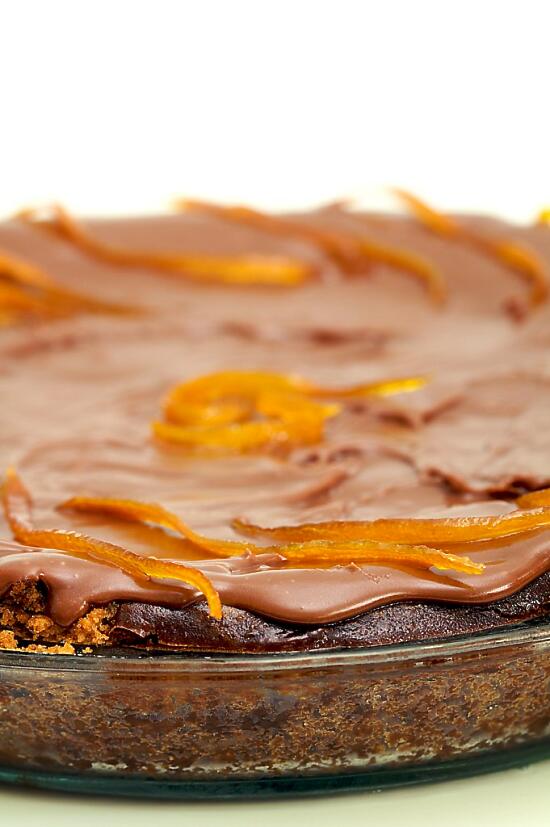
Perfectly decadent.
Abbey’s Infamous Cheesecake
Ingredients
Crust
- 2 cups graham cracker crumbs
- 1 stick butter, melted
- 2 tbsp sugar
- 1 tsp vanilla extract
Cheesecake
- 3 sticks of cream cheese, 8 oz each (total of 24 oz) at room temperature
- 1 cup sugar
- 3 large eggs
- 1 cup heavy cream
- 1 tbsp vanilla extract
- 4 oz bittersweet chocolate
- The juice of one orange
- 1 tsp orange extract
- red and yellow food coloring (optional)
- 1 batch of chocolate ganache
- candied orange peels
Cooking Directions
- Preheat oven to 350°F.
- Mix together the crust ingredients and press into the bottom and up the sides of a 9″ pie plate, or into the bottom of a 9″ springform or regular cake pan. Set crust aside.
- Combine cream cheese and sugar in a large bowl and cream together until smooth.
- Add eggs, one at a time, fully incorporating each before adding the next. Make sure to scrape down the bowl in between each egg.
- Add heavy cream and vanilla and blend until smooth and creamy.
- Divide the batter into two equal portions.
- Melt the chocolate, and mix into one half of the cheesecake batter.
- Mix the orange juice, orange extract, and food colorings into the other half of the cheesecake batter.
- Alternating between chocolate and orange cheesecake batters, pour batter into prepared crust and tap the pan on the counter a few times to bring all air bubbles to the surface.
- Bake 45 to 55 minutes, until it is almost done – this can be hard to judge, but you’re looking for the cake to hold together, but still have a lot of jiggle to it in the center. You don’t want it to be completely firm at this stage.
- Close the oven door, turn the heat off, and let rest in the cooling oven for one hour. This lets the cake finish cooking and cool down gently enough so that it won’t crack on the top.
- After one hour, remove cheesecake from oven and lift carefully out of water bath. Let it finish cooling on the counter, and then cover and put in the fridge to chill.
- Top with the chocolate ganache, then garnish with the candied orange peels.
- Refrigerate for another hour until the ganache has set, then enjoy!
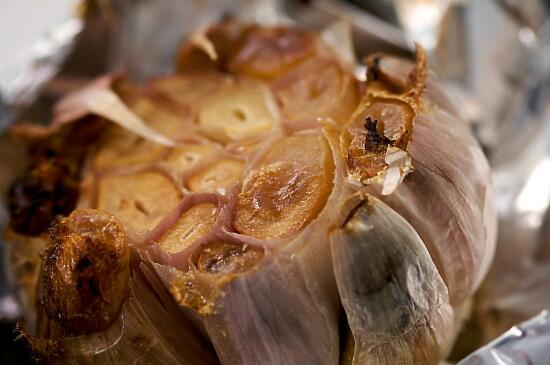
A whole head of freshly roasted garlic… NOM.
As many of you know, cancer has unfortunately touched my life quite a few times. My dad had prostate cancer a few years ago, and my brother has just gotten past the section of intense treatment in his second battle with leukemia. It’s a difficult thing for any family to deal with – seeing your younger brother, or father, or any other family member looking so frail and in pain. Cancer isn’t something I would wish upon anyone.
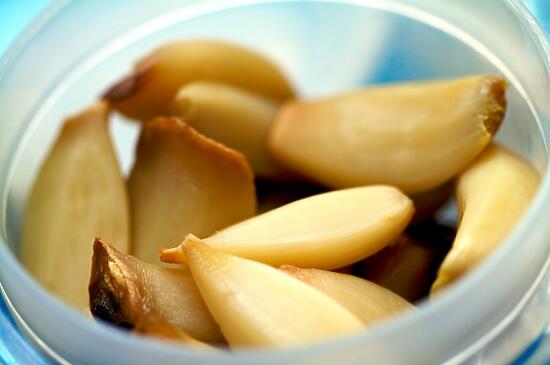
Cloves of roasted garlic, extracted from the head.
Which is why when I heard about the Cooking to Combat Cancer event, I knew I had to participate. All you have to do to participate is cook something that uses an ingredient (or several) that is known to help prevent cancer. I glanced through the lists of foods known to help prevent cancer, and found one that I knew I had to use – garlic.
Between Son and myself, a lot of garlic gets eaten in this household. Given free reign Son would eat it raw at times, but I prefer a more subtle approach to my garlic consumption. Roasted garlic is something we both can agree on, anytime. It doesn’t have the unpleasant bite that raw garlic has, but instead has a gentler, somewhat caramelized, almost sweet taste that even I can find enjoyable raw. As for Son… when I mentioned I was going to make some roasted garlic, his ears perked up.
“How many should I make?”
“Ten!” He sounded like a little boy in a candy shop.
“Be reasonable… do you think four heads is enough?”
“I guess…”
I couldn’t help but laugh at him. “Don’t worry, I can always make more when you’re done with this batch!”
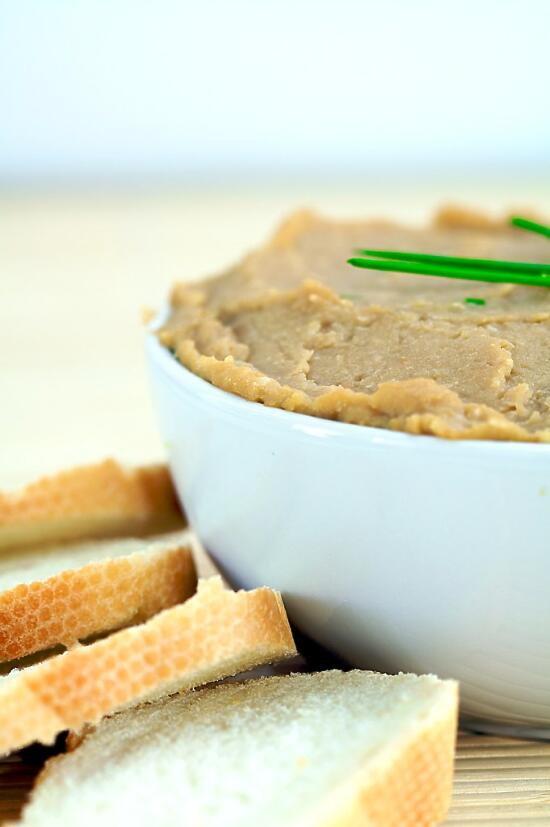
Roasted Garlic Hummus… looks so delicious, right?
And what did we do with the roasted garlic? Some got eaten by itself, of course. One head got made into some roasted garlic hummus which, while the pictures of it turned out beautifully, I’m ashamed to say the hummus tasted terrible. So no, you’re not getting the recipe for that. *sigh* And we had such high hopes for our own homemade hummus…
The rest of the roasted garlic has gone onto pizza. Because ohmygod roasted garlic on pizza? Amazing. With bacon, and pepperoni, mozzarella, red onion, and of course pizza sauce… not on a pizza crust, but on a regular flour tortilla that crisps up just right like thin crust pizza, only better. I’m not ashamed to admit that this has been lunch or dinner more than a couple of times in the past weeks. Really. You should try it.
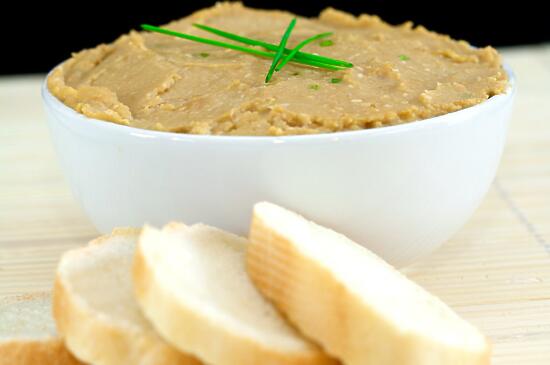
Sadly, not so much. Epic FAIL.
Ingredients
- 1 head of garlic
- olive oil
Cooking Directions
- Preheat the oven to 425°F.
- Remove the loose papery outside skin of the garlic head, but keep the cloves together.
- Slice off the top 1/2 inch of the head of garlic and discard. (If you’re like me, you can save the discarded garlic bits in the refrigerator for another use.)
- Wrap the head of garlic in a small square of foil and drizzle with olive oil.
- Roast the head of garlic in the oven until the garlic is very soft, about 40 minutes.
- Unwrap and cool. Enjoy!
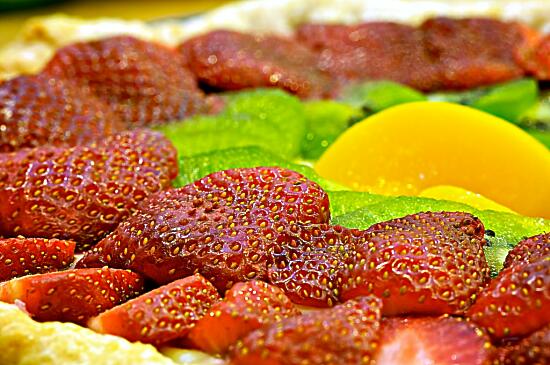
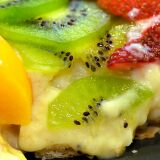
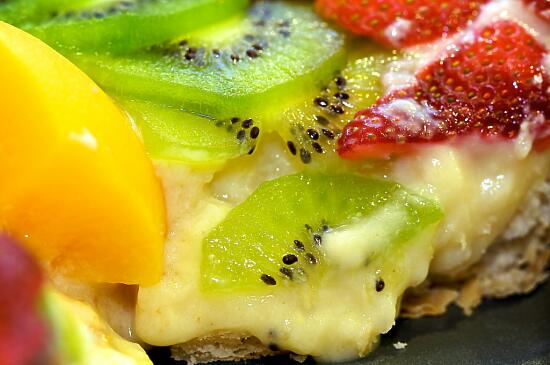
Vietnamese-Style Fruit Tart
This isn’t exactly a new recipe – it’s essentially this banana cream pie, except with slices of mango on the bottom instead of bananas, and topped with strawberries, kiwi fruit, and peaches. But it turned out so wonderfully well, I just had to share it with you.
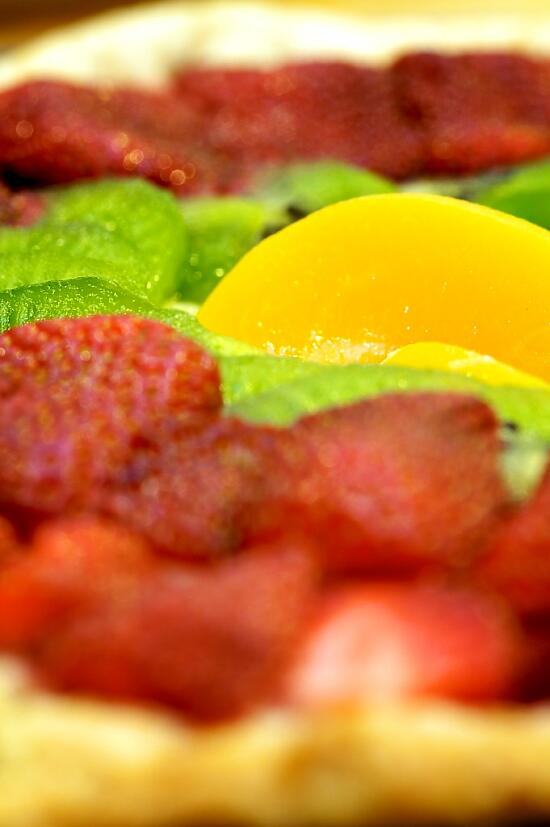
…with mango, kiwi, strawberries, and peaches.
In Son’s family, and in many Vietnamese (and other Asian?) families, this type of fruit tart is traditionally eaten at all sorts of celebrations. I made this one for his mom’s birthday. The verdict? Even better than the ones they used to buy from the bakeries in Little Saigon. Success!
Everyone loved it!
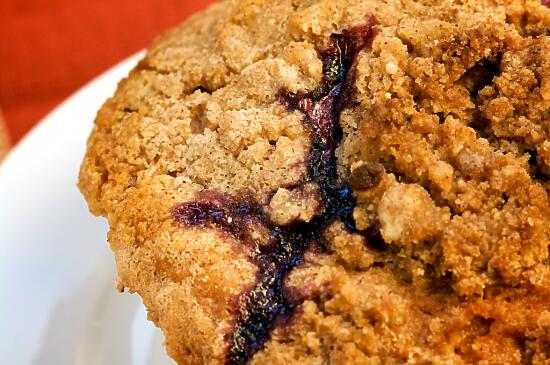
Blueberry Muffins
Everyone has a different idea of what comfort food is. For Son, comfort food is a nice hot bowl of phở or bún tôm thịt nướng (grilled shrimp and pork with vermicelli noodles and vegetables). For me, comfort food tends more towards chocolate peanut butter ice cream, or most potato dishes, or a steaming mug of hot chocolate. But blueberry muffins?
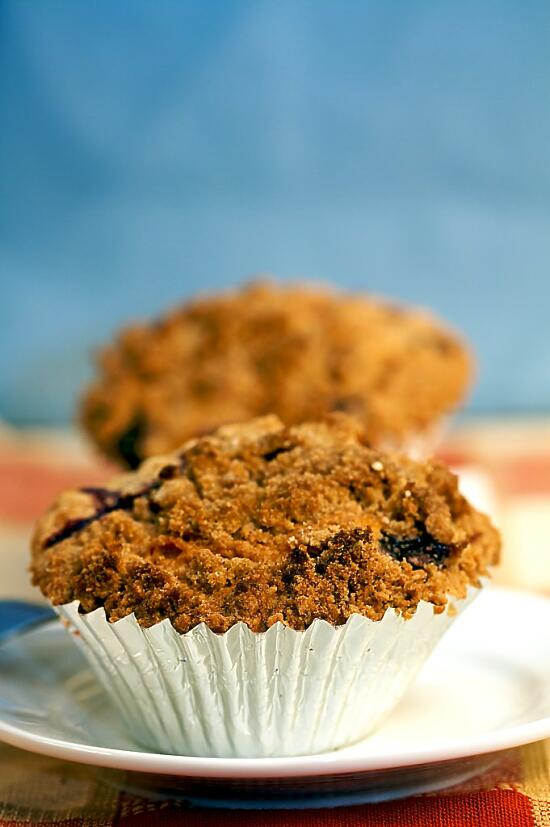
Made with fresh blueberries, of course
When I think comfort food, blueberry muffins are not something that comes to mind. But when I took a bite of one of these blueberry muffins, fresh from the oven with a pat of butter, I was young again. Sunday morning “special” breakfast with my family, blueberry muffins from a box mix… except so much better. Even though I did everything I possibly could to mess these up (not on purpose, of course)… ran out of regular white sugar so I also used brown sugar in the muffins, then ran out of brown sugar so I had to use powdered sugar in the streusel… had to use a little pastry flour because I ran out of regular flour… yes, I’m a bad food blogger, I know. This is what happens when I bake on a whim. But they turned out just fine! So all is well.
(Although… I would actually leave off the streusel next time I baked these. It was way too sweet for my tastes… but that could have been because I used powdered sugar instead of granulated. Oops.)
This recipe was adapted from To Die For Blueberry Muffins, from AllRecipes.com.
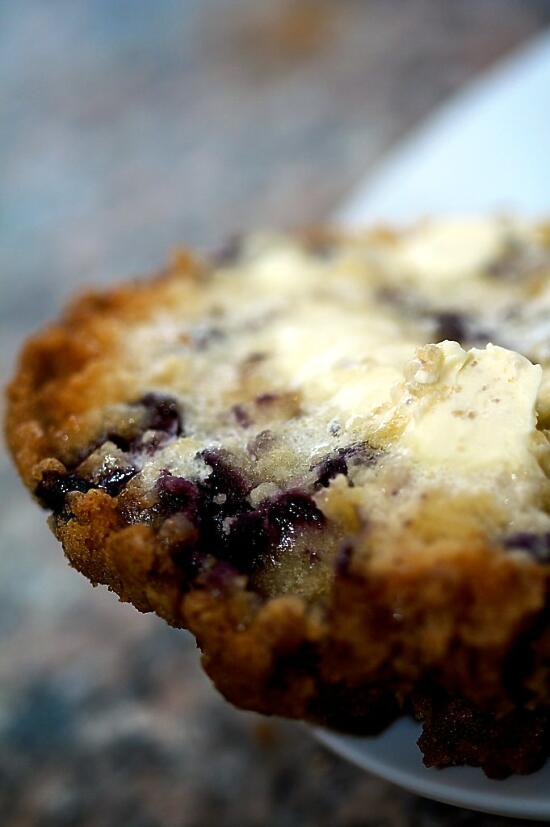
Hot from the oven. Yum.
Ingredients
- 1 1/2 c all-purpose flour
- 3/4 c white sugar
- 1/2 tsp salt
- 2 tsp baking powder
- 1/3 c vegetable oil
- 1 egg
- 1/3 c milk
- 1 c fresh blueberries
- 1/2 c white sugar
- 1/3 c all-purpose flour
- 1/4 c butter, cubed
- 1 1/2 tsp ground cinnamon
Cooking Directions
- Preheat oven to 400° F (200° C).
- Grease muffin cups or line the muffin cups with muffin liners.
- Combine the 1 1/2 cups flour, 3/4 cup sugar, salt and baking powder.
- Place vegetable oil into a 1 cup measuring cup; add the egg and enough milk to fill the cup. Mix this with the flour mixture.
- Fold in the blueberries.
- Fill muffin cups right to the top.
- Mix together the 1/2 cup sugar, 1/3 cup flour, 1/4 cup butter, and 1 1/2 teaspoons cinnamon.
- Sprinkle the crumb topping over the muffins before baking.
- Bake for 20 to 25 minutes in the preheated oven, or until done.